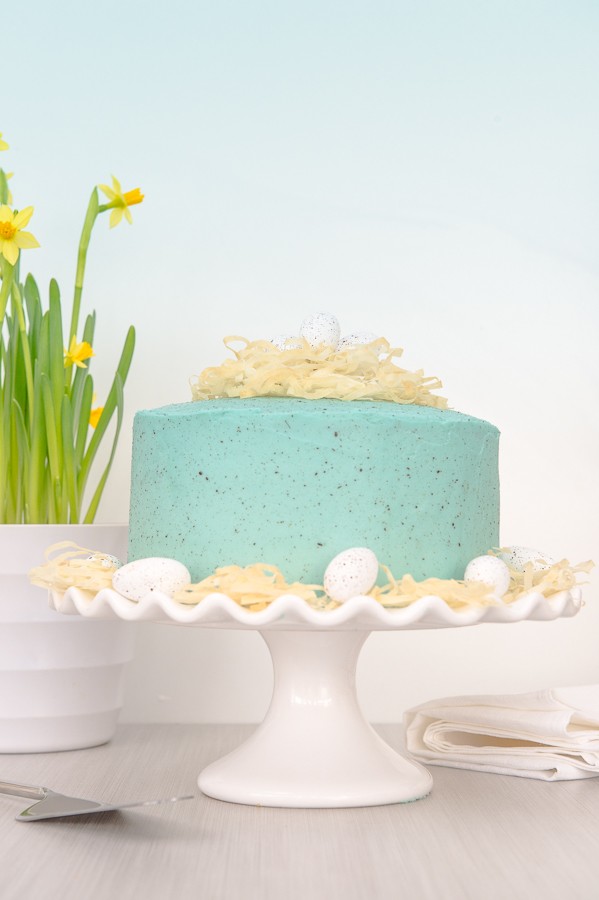
12 Apr Speckled Egg Coconut Cake
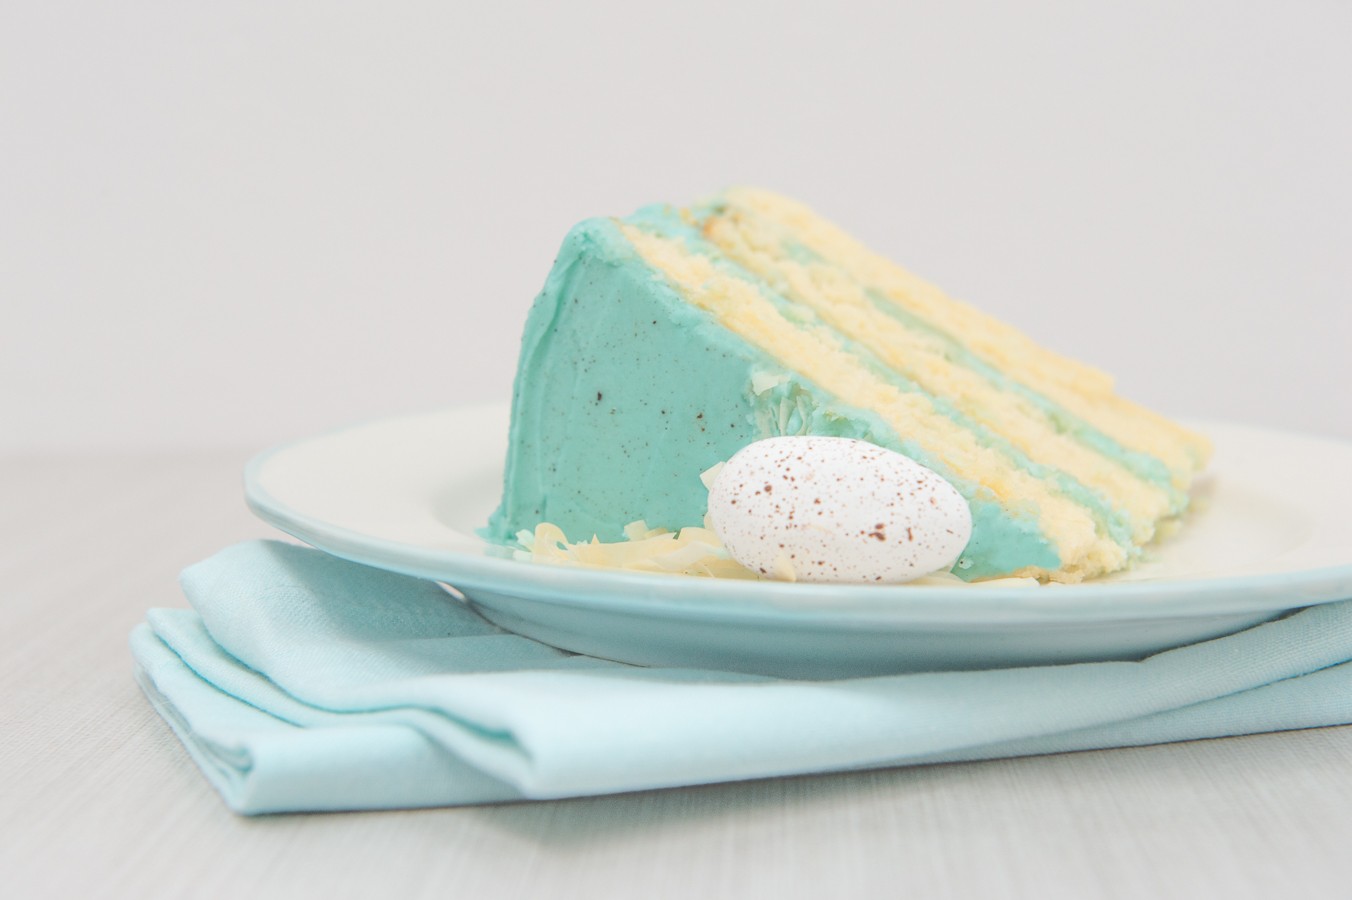
I know, I know. Easter is all about chocolate. But that doesn’t mean you can’t mix it up a little and try something completely different! This triple-layered Speckled Egg Coconut Cake is the perfect show-stopper to end your Easter meal. It’s made with light and fluffy coconut flavoured sponge cake, and iced with a coconut cream buttercream. Phyllo pastry works fabulously as a nest to hold the pretty speckled eggs that decorate the cake (so you will get some chocolate after all!).
The fun part of course is the speckling. A little head’s up – things are gonna get messy! So be well prepared and cover yourself and all work surfaces before starting, and give yourself a practice round before speckling the cake.

Ingredients:
Coconut Cake:
375g flour
3 tsp baking powder
Pinch of salt
250g butter, softened
450g white sugar
9 large egg whites, at room temperature
280ml full cream milk, at room temperature
1 tsp vanilla extract
2 tsp coconut flavour
Coconut Icing:
230g butter, softened
125ml coconut cream
800g icing sugar, sifted
2tsp coconut flavour
A few drops of sky blue gel colouring
Speckling liquid:
1tbs cocoa powder
4tsp vanilla essence
Phyllo Nest:
6 sheets of phyllo dough
Cooking spray
Small speckled eggs, to decorate
Directions:
- Preheat your oven to 180°C. Grease 3 x 20cm cake pans and line the base of the pans with greaseproof paper.
- In a medium bowl, whisk together the flour, baking powder and salt.
- Cream together the butter and sugar well (approx 5 minutes) until very soft and light. Beat in the vanilla and coconut flavour.
- In a third bowl, whisk together the egg whites and milk by hand until just combined.
- Add about a quarter of the flour mixture to the creamed mixture, and beat well with your mixer on low speed. Add some of the milk mixture, and mix until well combined. Repeat this process, alternating the addition of the flour and milk mixtures, until all the ingredients have been added. Scrape down the sides of the bowl in between each addition to ensure the batter is evenly mixed.
- Divide the batter between the 3 prepared cake pans and smooth the tops.
- Bake the cakes for 30-35 minutes, until they are firm to the touch and a toothpick inserted into the centre comes out clean.
- Leave the cakes to cool in the pans for 5 minutes, then invert and cool completely on wire cooling racks.
- To make the icing, beat the butter very well until smooth and creamy. Gradually add half the sifted icing sugar, beating well after each addition.
- Mix in the coconut cream and coconut flavour, then gradually add in the remaining icing sugar.
- Beat the mixture until smooth, then add the food colouring a drop at a time, until the desired duck egg colour is achieved. You want it to be pastel coloured, not too bright!
- To make the phyllo nests, tightly roll all 6 sheets of pastry lengthwise. Slice the rolled up pastry very thinly.
- Transfer to a baking sheet and separate the layers loosely. Spray with cooking spray then bake at 180°C for 8-10minutes. Cool completely and store in an airtight container until ready to use.
- Once the cakes have cooled, ice each layer with the coconut icing, then do a crumb coat (as discussed on my Mirror Glaze post) on the outside of the cake. Refrigerate for at least 30 minutes.
- Use the rest of the icing to ice a generous layer on the top and sides of the cake. Smooth it out as neatly as you can.
- Mix together the cocoa and vanilla in a small bowl. Cover your work surface with wax/greaseproof paper.
- Dip a clean stiff paintbrush lightly into the cocoa mixture. Holding it in one hand, use the index finger of your other hand to flick the bristles and splatter the “paint” onto your iced cake. I suggest practicing this on the wax paper first and wearing an apron!
- Continue splattering until your whole cake is speckled. You may need to rinse your brush with water if it seems to be getting clogged. You don’t need much of the “paint” so dip lightly.
- When you are ready to serve your cake, spread your phyllo nest on top of and around the base of the cake. Use your speckled eggs to fill the nests.
No Comments