20 May Mirror Glaze
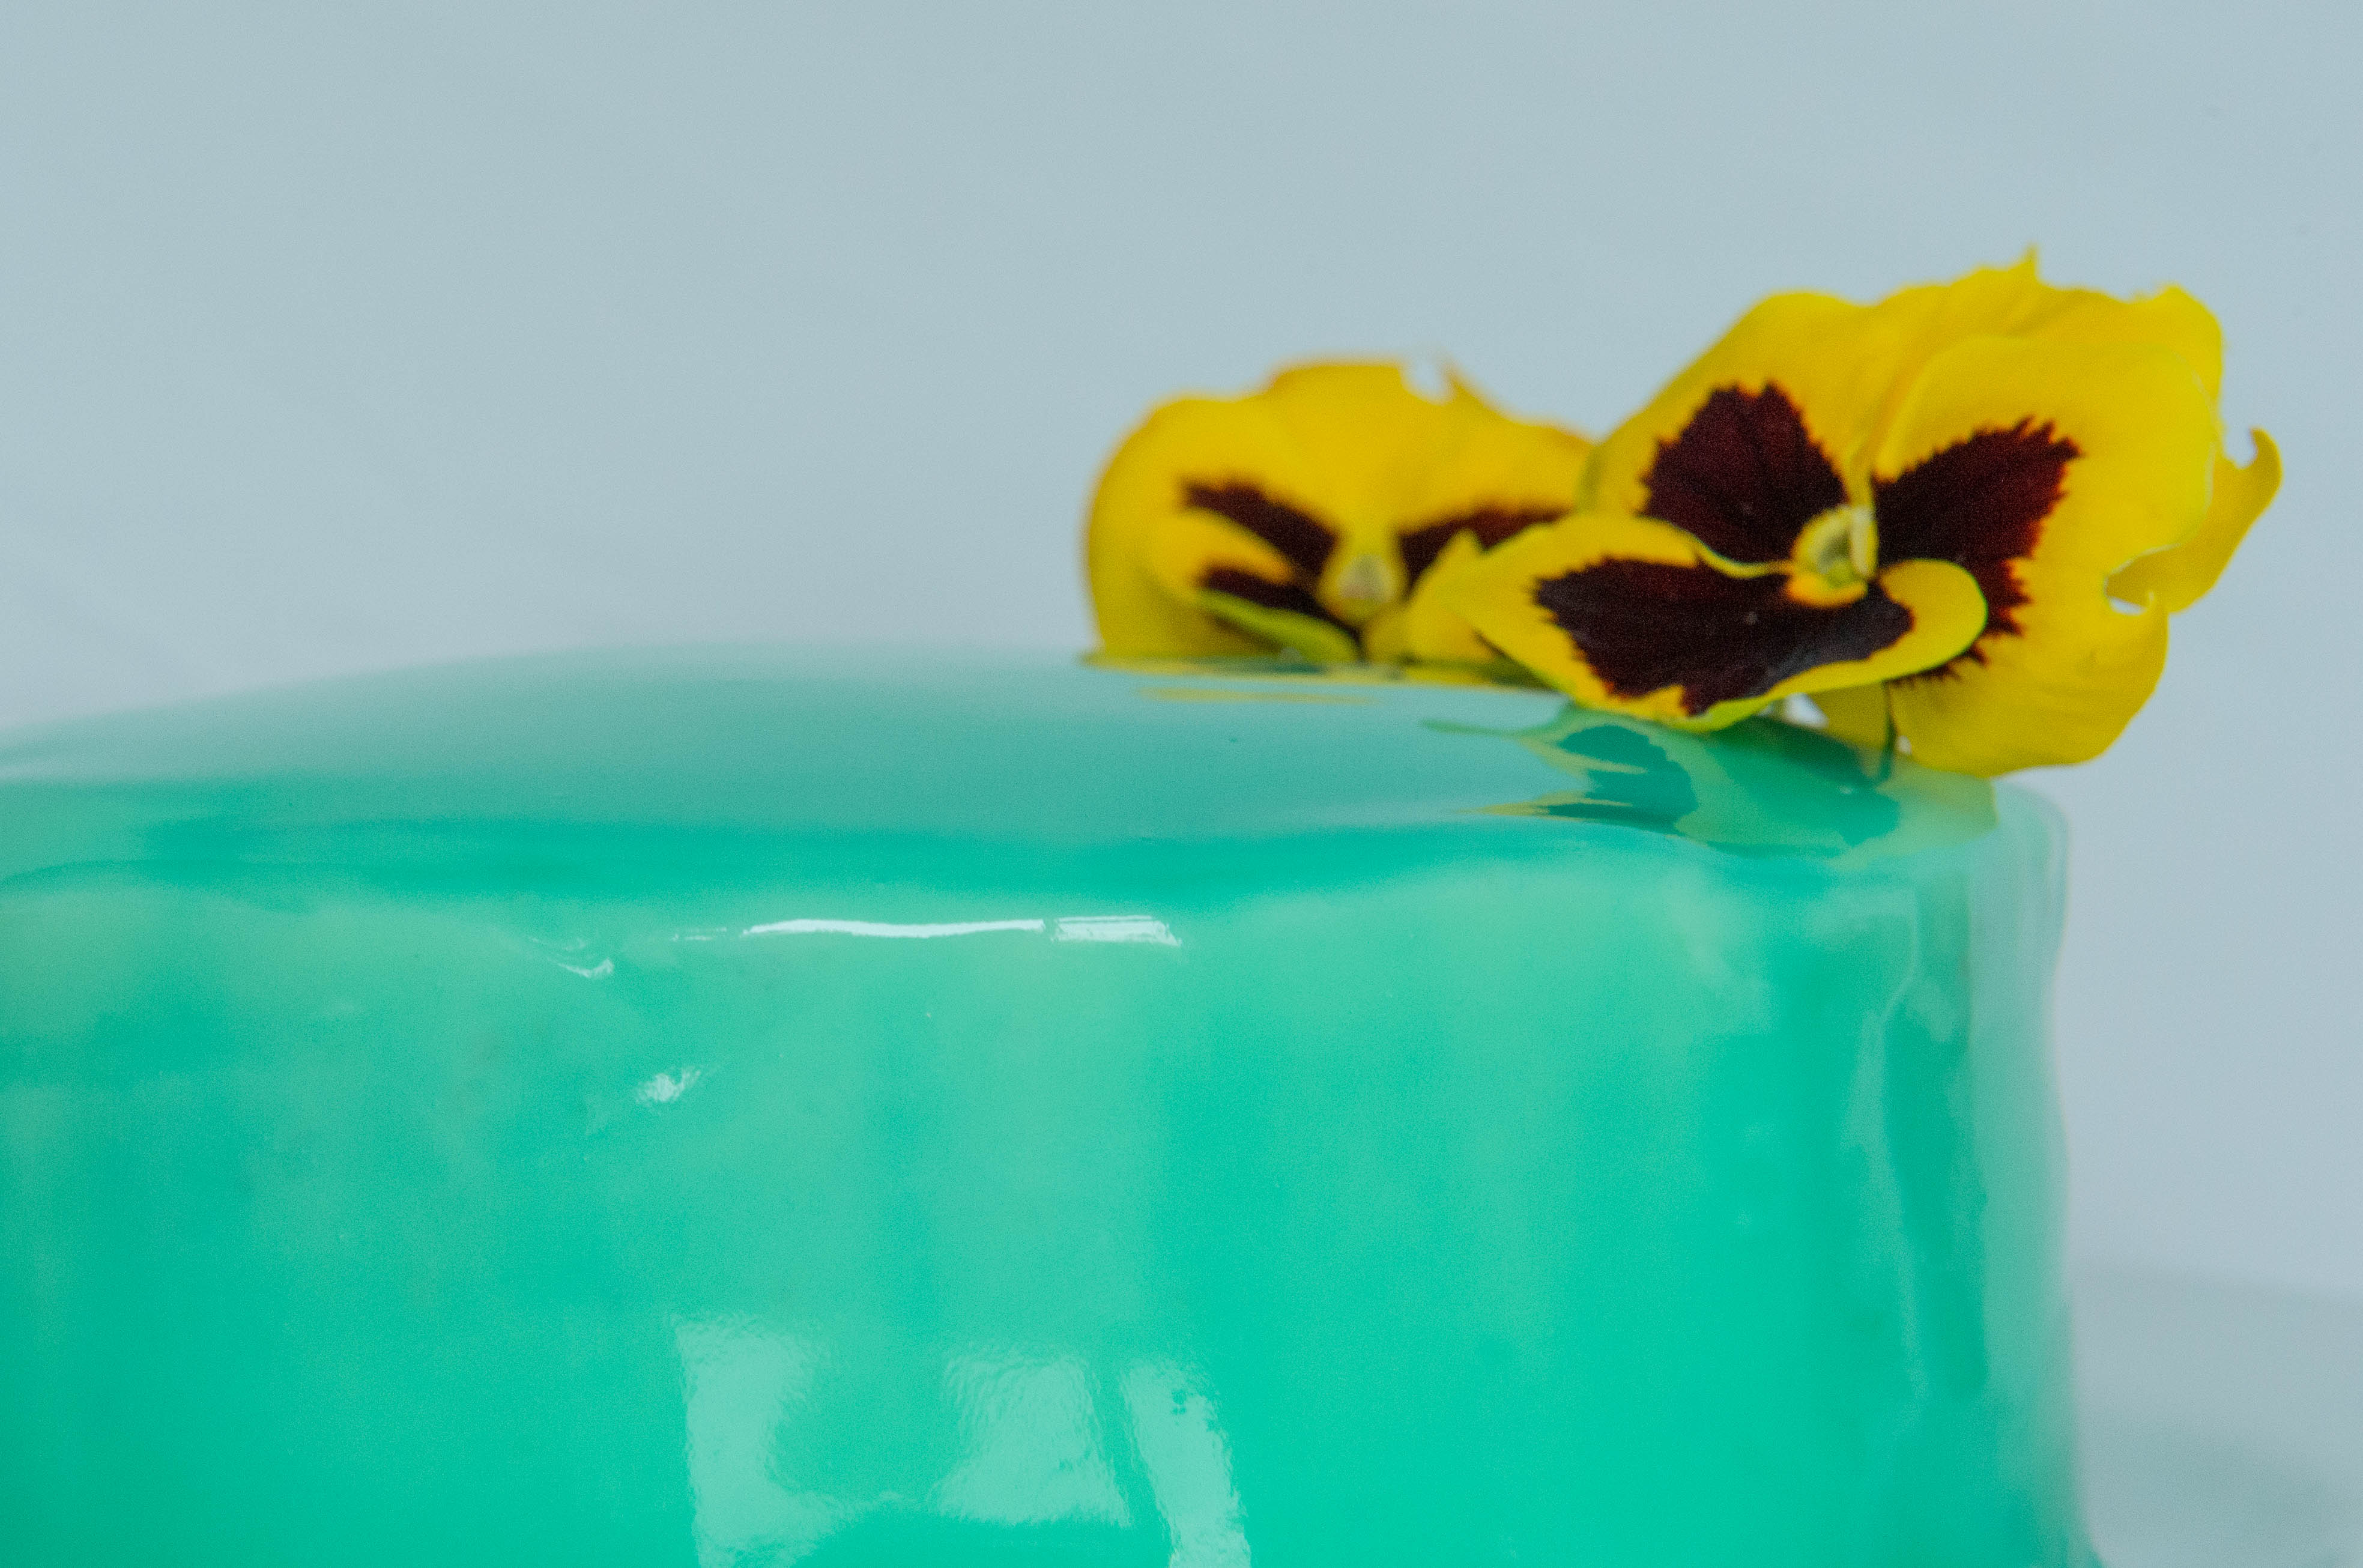
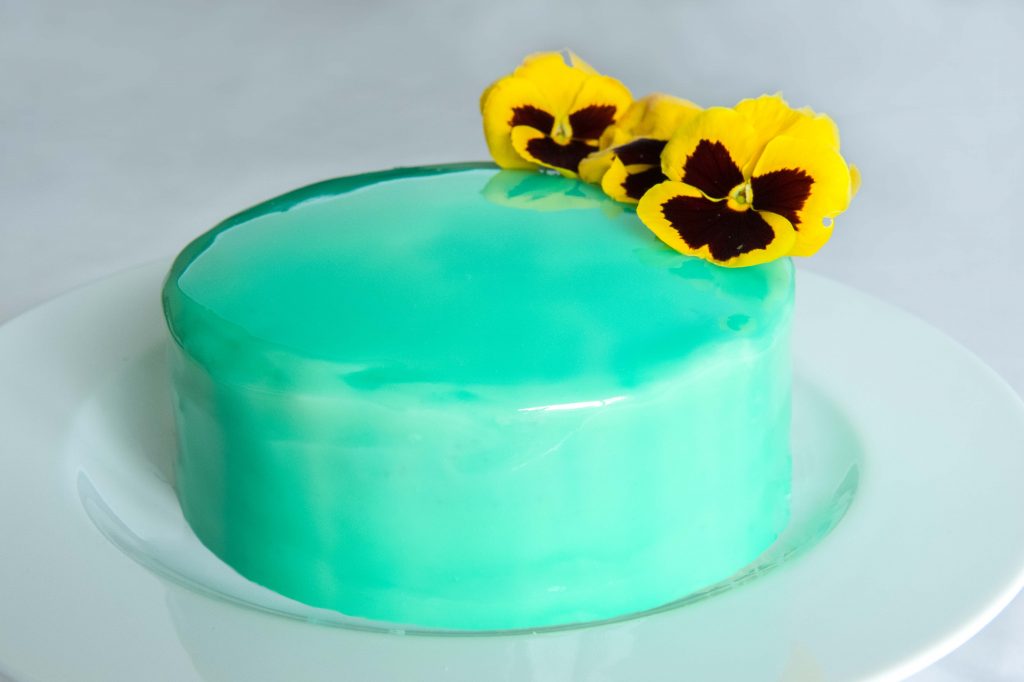
If you don’t know about the mirror glaze craze, I can only assume you’ve been temporarily living on Mars. It all began when Olga Noskova shared photos of her creations on Instagram. Before long they had gone viral and for good reason. There is just something about the mirror-shine that is so mesmerising, you can’t look away!
A mirror glaze will transform a boring old cake into a sophisticated show-stopper. It will most certainly be a talking point among your guests as they ogle over the glossy, reflective shine.
Mirror Glaze The Sweet Rebellion from Astrid Field on Vimeo.
All you need to do this yourself is a kitchen scale, a sugar thermometer and a palette knife. You may find this hard to believe, but the trickiest part of achieving this mirror look is actually not making the glaze. It’s icing the cake before you glaze it. In order for the cake to have the mirror shine, the iced cake needs to be ultra-smooth.
Read through these tips before starting, and you should have no trouble achieving your very own work of art!
– Use a bread knife to slice the top bulge of the cake off so that the top is completely flat and level.
– The icing needs to be as white as possible to show the colour of the glaze accurately. Try using Wooden Spoon white margarine instead of butter when making your icing. A cream cheese icing also works well.
– First ice the sponge cake roughly with a ‘crumb coat’ of icing, refrigerate of 30 minutes then ice again. A crumb coat is a thin layer of icing that seals in the stray crumbs before the second layer of icing is applied. This takes a little extra time but ensures the icing is perfectly smooth.
– Try using a hot palette knife for the final smoothing of the icing. Dip the knife in hot water then dry it and smooth over any rough edges.
– You’ll notice the measurements are all in grams and not millilitres. It is generally accepted by serious bakers that weight measurements are more precise than volume measurements. Especially for a recipe like this you want to be as accurate as possible to get the perfect result.
– Liquid Glucose is available at baking shops.
– When adding your food colouring, go for a shade darker than you actually want. The white icing will lighten the overall colour quite a bit.
– Keep a close eye on the glaze as it’s cooling. If it cools much below 28°C it will be too thick to pour. If it hasn’t cooled enough it will be to thin and potentially melt the icing underneath.
– As a final tip, use hot water to get the glaze off any dirty dishes, and preferably wash up as soon as possible before the glaze sets.
– This recipe will make around 500ml of glaze, enough to glaze a large double layered cake, approx 23cm in diameter.
Ingredients:
1 x 23cm cake, smoothly iced with a white buttercream icing
10g gelatine leaves/sheets
60g water
150g liquid glucose
150g white sugar
70g water
100g condensed milk
A few drops of food colouring (whatever colour you like!)
150g good quality white chocolate, broken into small pieces
Directions:
- Soak the gelatine in the 60g water and set aside.
- Place the glucose, sugar and 70g water into a saucepan and bring to the boil, stirring occasionally.
- Continue heating until the mixture reaches 104°C.
- Remove from heat then whisk in the condensed milk and food colouring.
- Squeeze out the excess water from the gelatine leaves then add them to the mixture and whisk until smooth.
- Pour this warm mixture over the white chocolate and stir until the chocolate is completely melted and you have a smooth and uniform mixture.
- Sieve the mixture into a jug and set aside to cool.
- Once the glaze has reached between 28°C – 31°C, remove the iced cake from the fridge. Place it on a wire rack or upside down cake tin (a few cm smaller than the cake so that the glaze can run off). Place this over a baking tray to catch the excess glaze.
- Carefully pour the glaze over the cake, ensuring all sides are completely covered.
- Place the glazed cake back in the fridge for 3-4 hours.
- Just before serving, carefully transfer the cake to a serving dish.
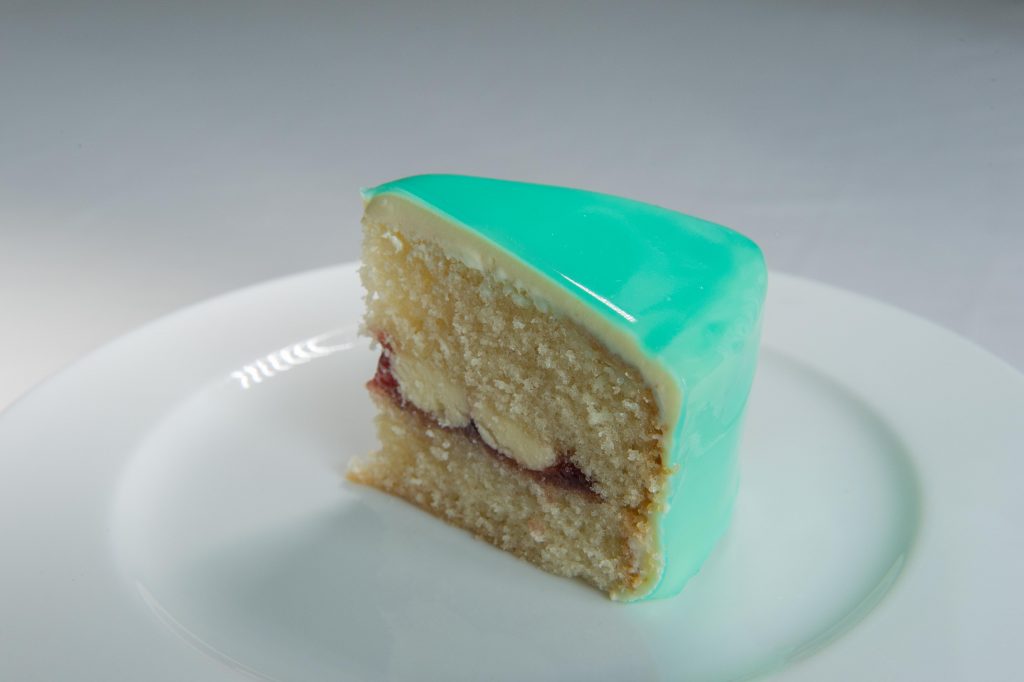
- If you can bring yourself slice it, use a hot knife (dip the knife in hot water then dry) and wipe it clean in-between each slice.

thandeka
Posted at 20:55h, 17 MayHello for the gelatine leaves can I use gelatine powder? I can’t find gelatine leaves and glucose syrup in the shops.
Astrid
Posted at 17:18h, 25 MayHi there! Yes, you can use gelatine powder no problem. Use the same amount (10g). You just have to bloom it in a small amount of water before adding to the warm mixture.
Glucose syrup is essential for the mirror glaze but you can find it at any baking shop!
Salehah Badat
Posted at 18:49h, 08 DecemberHi there,
I JUST TRIED THIS AND THE GLAZE SLIPPED OFF THE CAKE. WHAT DID I DO WRONG. PLEASE HELP.
Thank you for your recipes
Astrid
Posted at 15:40h, 04 JanuaryHi there. Its a pleasure. Sorry to hear about your glaze. It sounds like maybe it was too warm? Was the glaze very thin?