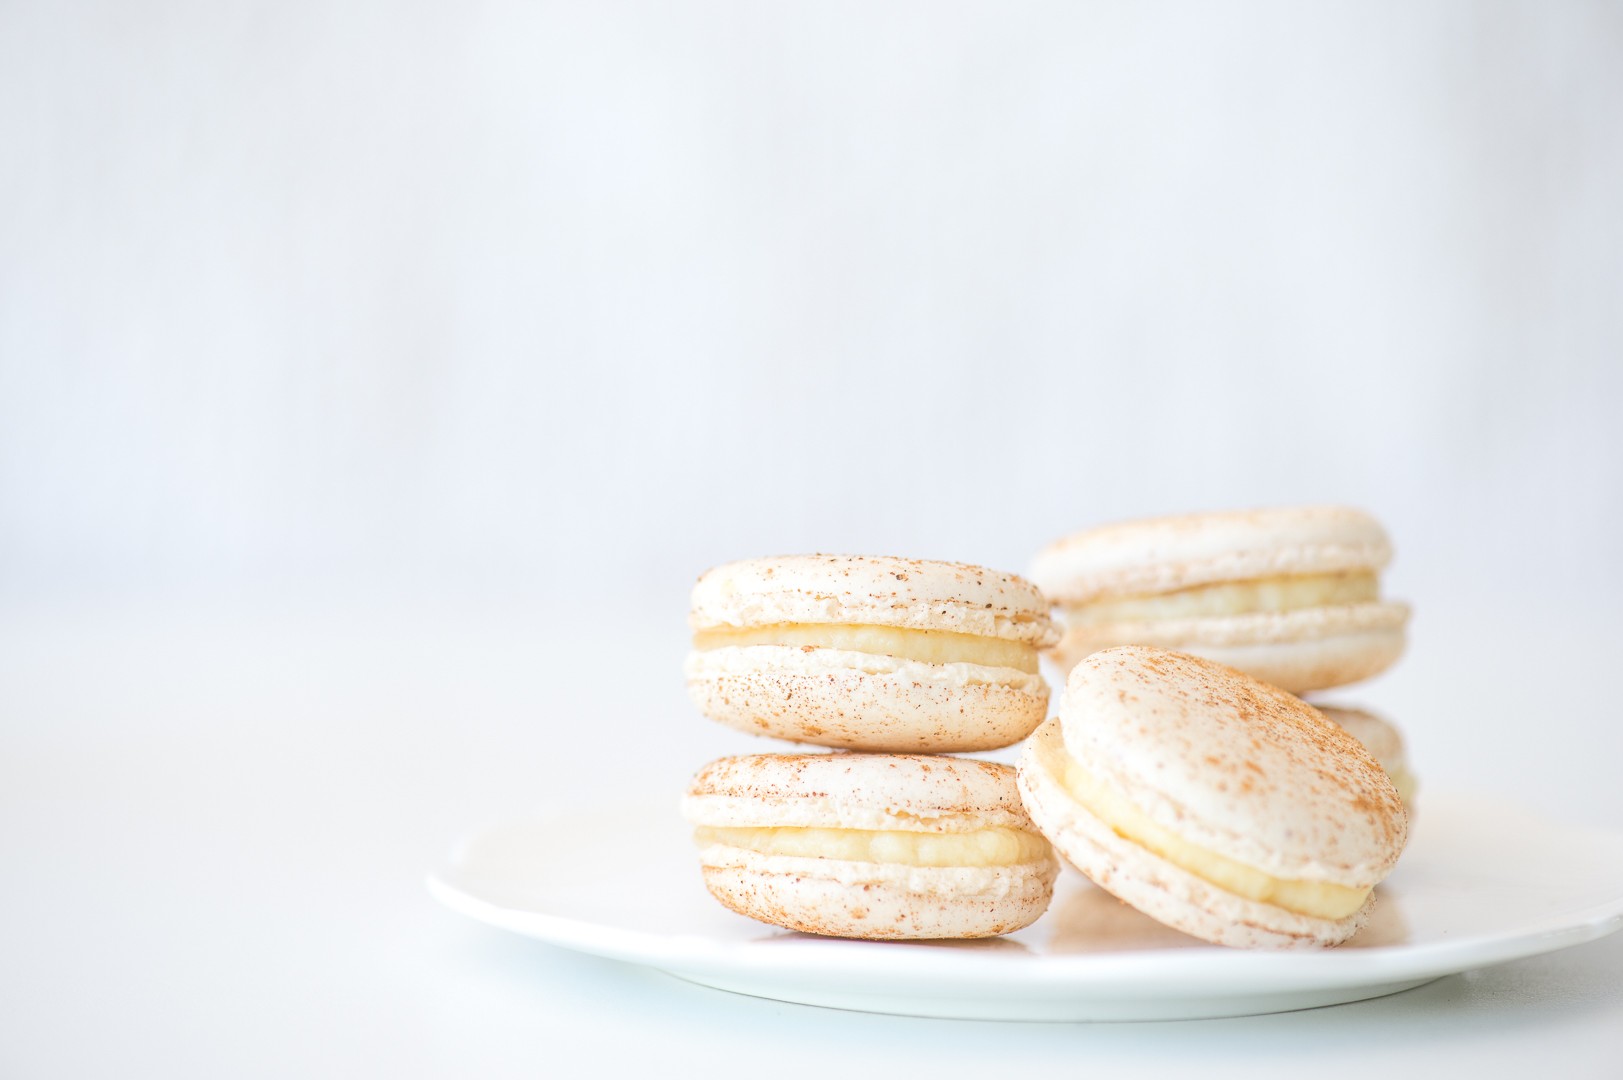
24 Sep Milk Tart Macarons
There is something so Parisian and sophisticated about macarons. If you’ve ever had one you’ll no doubt have fallen in love with their crisp, chewy shells and creamy fillings. They’re so darn pretty too! I’ll be honest with you – macarons are notoriously tricky to make. It took me several attempts to get just the right recipe. Once you’ve mastered it though, the macaron world is your oyster. You can colour and flavour them any which way you like – the possibilities are endless!
Traditionally macarons are filled with a buttercream or chocolate ganache, but in keeping with Heritage Day I decided to go a shake things up a bit. I used a cinnamon-infused Milk Tart custard to fill my macarons. And let me tell you, it tasted amazing! Just like a Milk Tart, with a bit of a French twist.

Ingredients:
Macarons:
75g water (5 tbsp)
150g sugar (¾cup)
55g egg whites (A – about 2 large egg whites)
150g icing sugar (1¼cup)
150g almond flour (1¼cup)
55g egg whites (B – about 2 large egg whites)
Ground cinnamon for dusting
Milk Tart Filling:
500ml full cream milk (2 cups)
30ml salted butter (2 tbsp)
1 cinnamon stick
50ml sugar (3 tbsp + 1 tsp)
1 egg
30ml cake flour (2 tbsp)
30ml cornflour (2 tbsp)
5ml vanilla extract (1 tsp)
Directions:
- For best results separate your egg whites 1-2 days before starting. You will need 4 large egg whites. Keep the egg whites in an airtight container in the fridge for 24-48 hours. This is called “ageing” and reduces the moisture content of the egg whites. Weigh the egg whites after ageing!
- Line 2 baking trays with silicone or greaseproof paper. Draw evenly sized circles on the paper, 3-4cm in diameter (I traced around a tot glass). Turn the paper over so that ink/pencil does not transfer onto the macarons.
- Combine the sugar and water together in a small saucepan over low heat. Heat gently until the sugar has dissolved, then increase the heat.
- Meanwhile whip the egg whites (A) in the heatproof bowl of a stand mixer (or a hand-held mixer, but you’ll need help later) until foamy.
- Once the syrup has reached 116°C, remove from the heat and cool for a minute or until the bubbles subside.
- With the mixer running on medium speed, carefully pour the hot syrup in a thin stream down the sides of the bowl, away from the whisk. If you are using a hand-held mixer you will need an assistant to do the pouring here. Continue mixing until the bowl feels cool.
- Sift together the icing sugar and almond flour through a fine sieve. Make sure to push all the almonds through the sieve.
- Stir together well, then add the egg whites (B) and mix well with a metal spoon.
- Now stir a third of the meringue mixture into the almond mixture to lighten it. Gently fold the remaining meringue in, using a figure of 8 motion. Stop folding when the mixture has become loose and shiny – if you lift the spoon the mixture should no longer break into pieces but fall like molten lava.
- Scoop the mixture into a piping bag and pipe onto the prepared trays. The best way to do this is to hold the piping bag directly above the circle (not at an angle) and squeeze just until, or slightly before the circle is filled.
- Once all the circles are filled, bang the tray hard onto a countertop 3 or 4 times to knock the air bubbles out.
- Preheat the oven to 140°C (without the fan). Dust the macarons with cinnamon. Leave the trays to stand for 30 minutes so that the macarons can dry out. If you touch them gently with your finger, they should have formed a skin.
- Bake the macarons for 12-14 minutes. Allow to cool completely on the trays. If they don’t easily lift off the paper/silicon mat, they need to dry out more. In this case you can return them to the warm (but switched off oven) with the door left ajar.
- Meanwhile make the milk tart filling. Bring the milk, butter and cinnamon stick to the boil.
- Mix the remaining ingredients into a smooth paste.
- Once the milk mixture has come to a boil, cool for a minute then remove the cinnamon stick and pour slowly into the smooth paste, whisking constantly to avoid curdling.
- Strain this mixture back into the pot and return to medium heat.
- Stir constantly until the mixture thickens and coats the back of a spoon, then allow to cool to room temperature. Spoon into a piping bag fitted with a plain round nozzle (about 5mm wide) then refrigerate until needed.
- Just before serving, match like-sized macarons and sandwich together with the milk tart filling.
- The unfilled macaron shells can be stored in an airtight container for 3 days in the fridge or up to 3 months in the freezer.


No Comments