
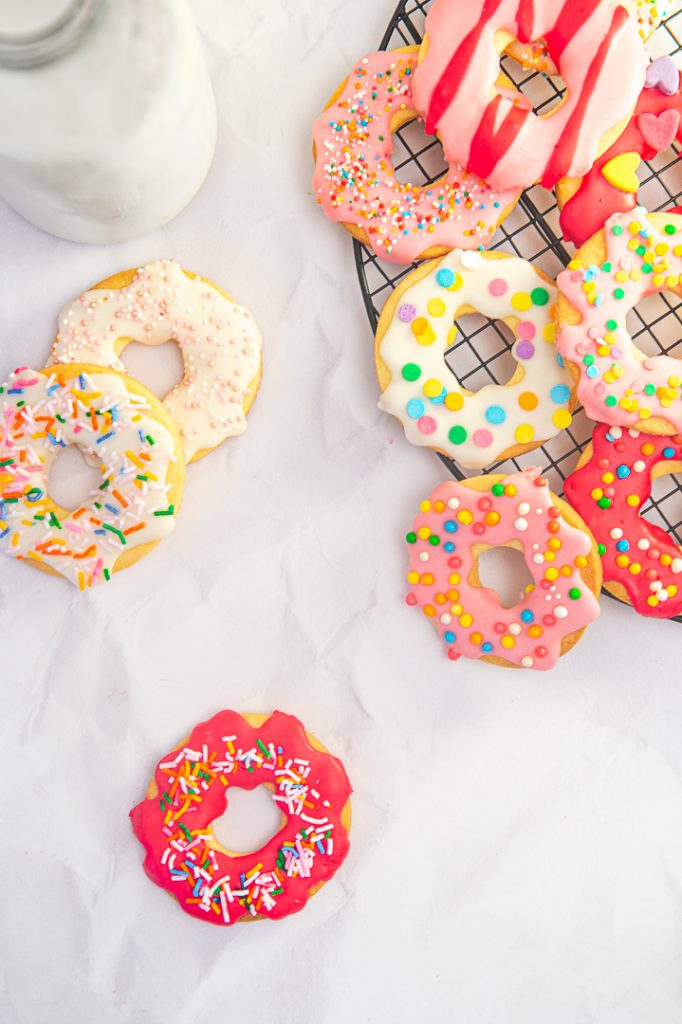
16 Apr Doughnut Sugar Cookies
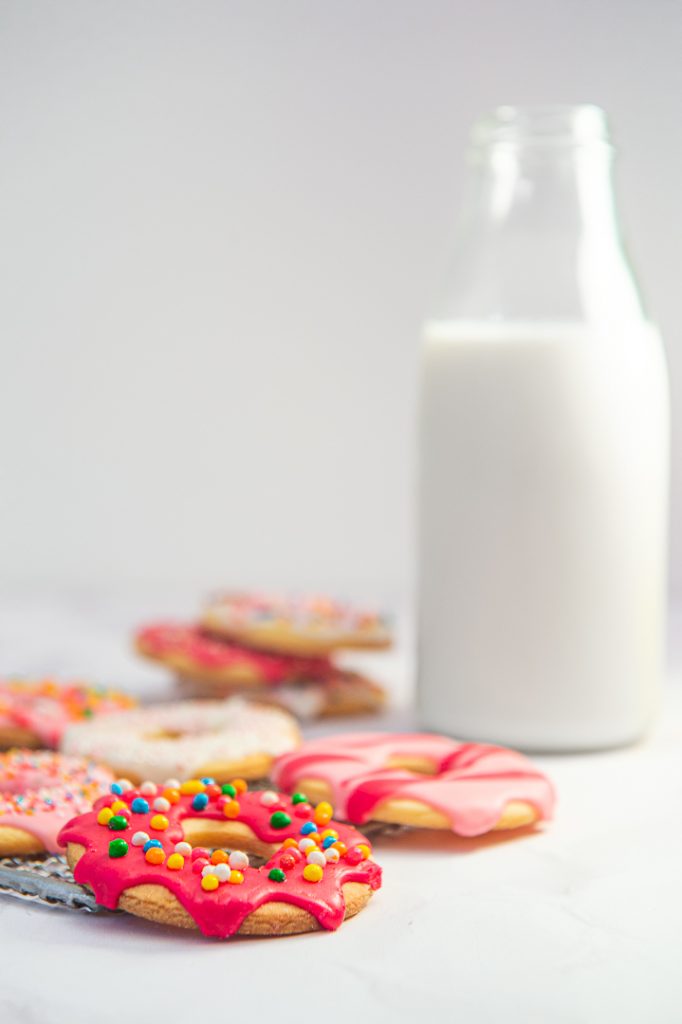
Mastering the art of “flood icing” will allow you to transform a plain old sugar cookie into a bright and beautiful work of art! I couldn’t think of anything more fun and cheerful than a plate of colourful doughnut cookies, and had a lot of fun decorating them. As a bonus you not need any fancy cookie cutters to make doughnut shapes – just a round cutter and an inverted piping nozzle.
I have spent a fair amount of time testing different cookie recipes and flooding techniques, and have learnt a few tricks along the way:
– Do not overmix the butter and sugar. Most recipes benefit from a long creaming phase, however in this case it incorporates air that forms bubbles in the cookies. You want your cookies to be as smooth and flat as possible for the best surface to ice on.
– Chill your dough twice – once after mixing and again after cutting out your shapes. Admittedly a bit of a pain, but prevents your cookies from spreading.
– For best results don’t re-roll. The best cookies come from that first roll of the dough. Once you gather the scraps and re-roll it you incorporate air (and flour from the surface) and the cookies will rise unevenly (this makes them tricky to ice neatly) and become tough from overhanding. Rather keep the scraps aside and use them to make a crumble.
– Many recipes will call for two different icings – one for the outline and a slightly runnier one for the “flooding”. Personally I prefer to use one icing for both of these steps as I find the border blends better with the flooded centre this way. It also saves a lot of time and dishes, especially when you are working with several colours of icing.
– The addition of the lemon juice to the icing is to stabilise the raw egg white and also whiten the colour. If you prefer to avoid raw egg whites, you can purchase egg white powder from baking stores.
– Avoid stacking the cookies until they have dried completely. This takes surprisingly long!


Ingredients:
(makes about 20 cookies)
For the cookies:
200g salted butter, softened
200g castor sugar (1 cup)
1 large egg
10ml vanilla extract/essence or finely grated lemon zest (2 tsp)
385g flour (2¾ cups) plus extra for rolling
For the icing:
560g icing sugar, sifted (4½ cups)
3 large egg whites
a few drops vanilla essence
5ml lemon juice (1 tsp)
a few drops of gel food colouring
sprinkles and other decorations as desired
Directions:
- Cream together the butter, castor sugar and vanilla until smooth and creamy (using a stand mixer or electric mixer). Do not overmix, as incorporating too much air may cause the cookies to have bubbles or spread during baking.
- Add the egg and mix until well combined.
- Gradually add in the sifted flour, mixing on a low speed until you have a crumbly mixture. Turn the dough out onto a lightly floured surface and bring it together with your hands. Do not overwork the dough or the cookies will be tough!
- Form a flat disc with your hands, wrap it in clingfilm and refrigerate for 1-2 hours.
- Working with half the dough, roll the dough out on a lightly floured surface (or between 2 pieces of baking paper) to 3-4mm thick. Try to roll in one direction only to avoid stretching the dough. Turn the dough 90°C then roll out again. Use a round cookie cutter about 7cm in diameter to cut out rounds, then cut out the centres with a large piping nozzle to create doughnut shapes.
- Carefully place the cookies onto a lined baking tray and refrigerate for at least 30 minutes.
- Preheat the oven to 180°C. Bake each tray for 8-10 minutes, or until just turning golden. Allow to cool on the tray for a few minutes, then remove to a cooling rack to cool completely.
- Repeat with the remaining cookie dough. (Alternatively the dough freezes very well for up to 3 months. Defrost overnight in the fridge before using.)
- To make the icing, place the egg whites, the vanilla and lemon juice into a large bowl. Gradually add in the sifted icing sugar and mix until thick and smooth. You do not want to aerate the mixture, so use a paddle attachment if you are using a stand mixer and don’t overmix.
- The texture of the icing should be like that of honey – to check this use a spoon to drizzle some icing back into the bowl, the ribbon that forms should take about 10 seconds to disappear into itself. If necessary, add a little water to thin the icing.
- Divide the icing onto smaller bowls and add a few drops of gel colour to each as desired. Fill a piping bag fitted with a writing nozzle (also called a 0 nozzle) or a squeeze bottle with a fine tip (i prefer this as I find I have more control).
- Carefully pipe a wavy outline around the edges of the cookie, then fill or “flood” in the rest of the cookie with the icing. Use a toothpick to spread the icing to all the edges and pop any little bubbles. Allow to dry slightly before adding sprinkles or they will sink in.
- Cover any bowls of icing with a damp, clean tea towel to prevent it from drying out. Leftover icing can be stored in an airtight container in the fridge for up to 1 week.
- Leave the cookies to dry completely for at least 12 hours, then store in an airtight container for up to 3 days.
Joan Lawrence
Posted at 18:53h, 30 MayLovely ❣