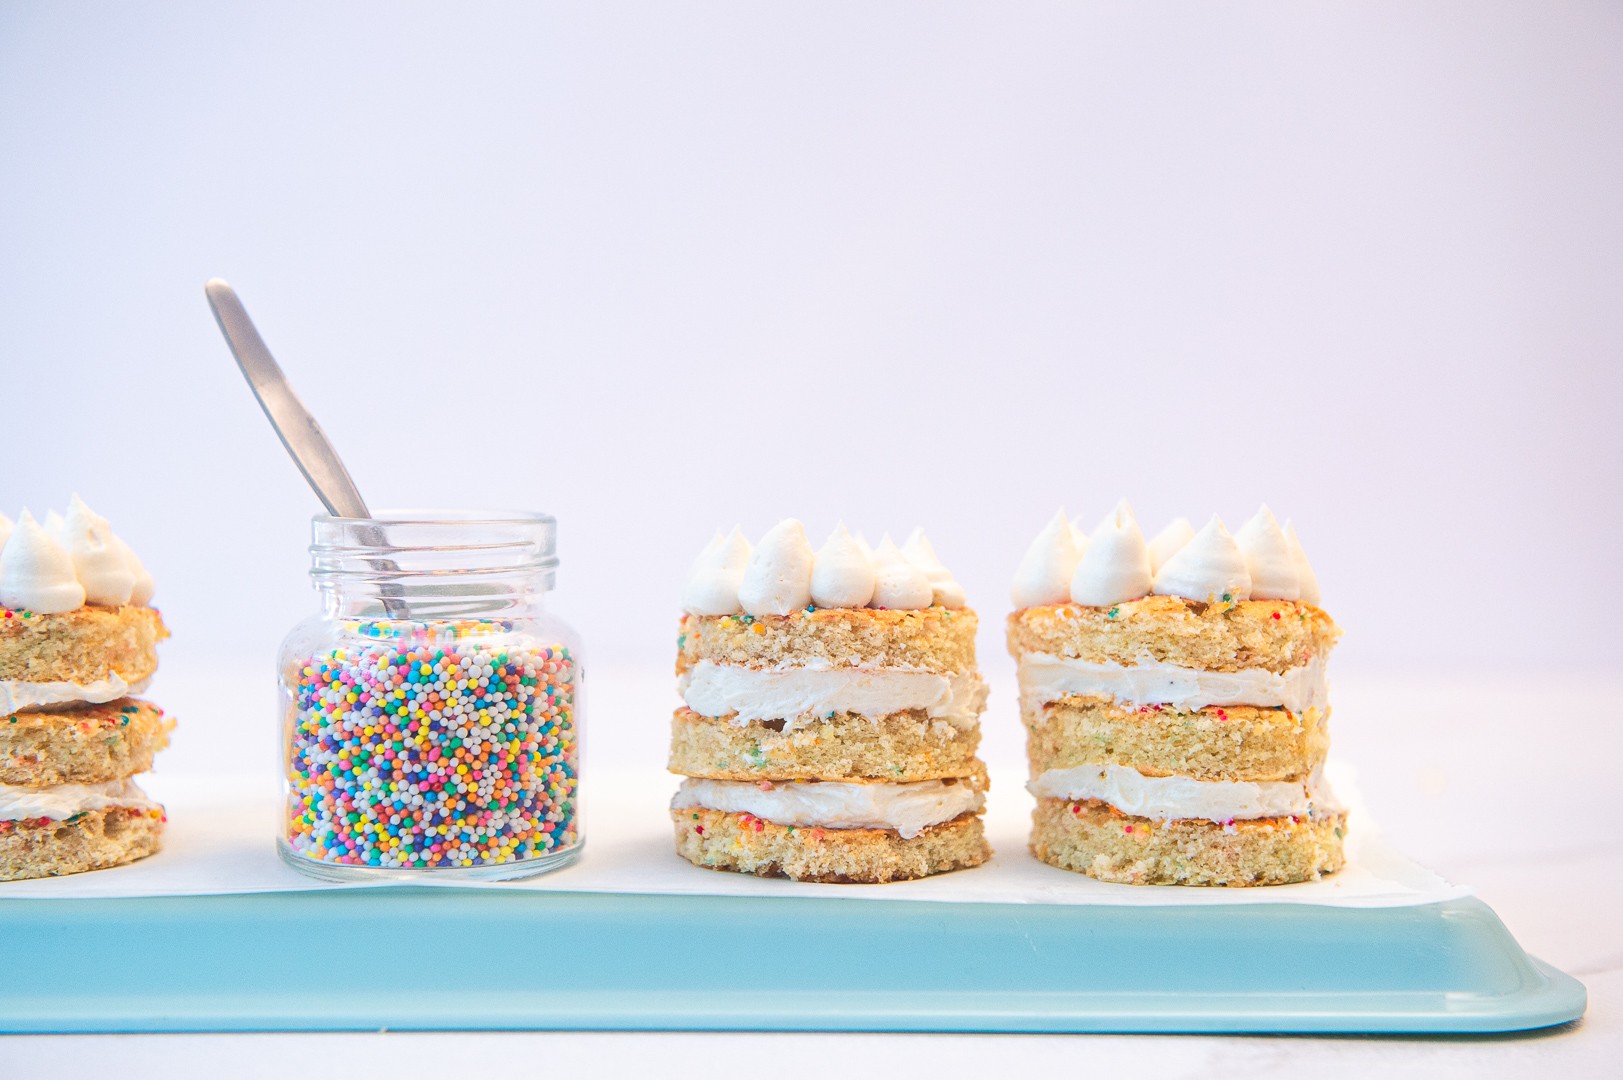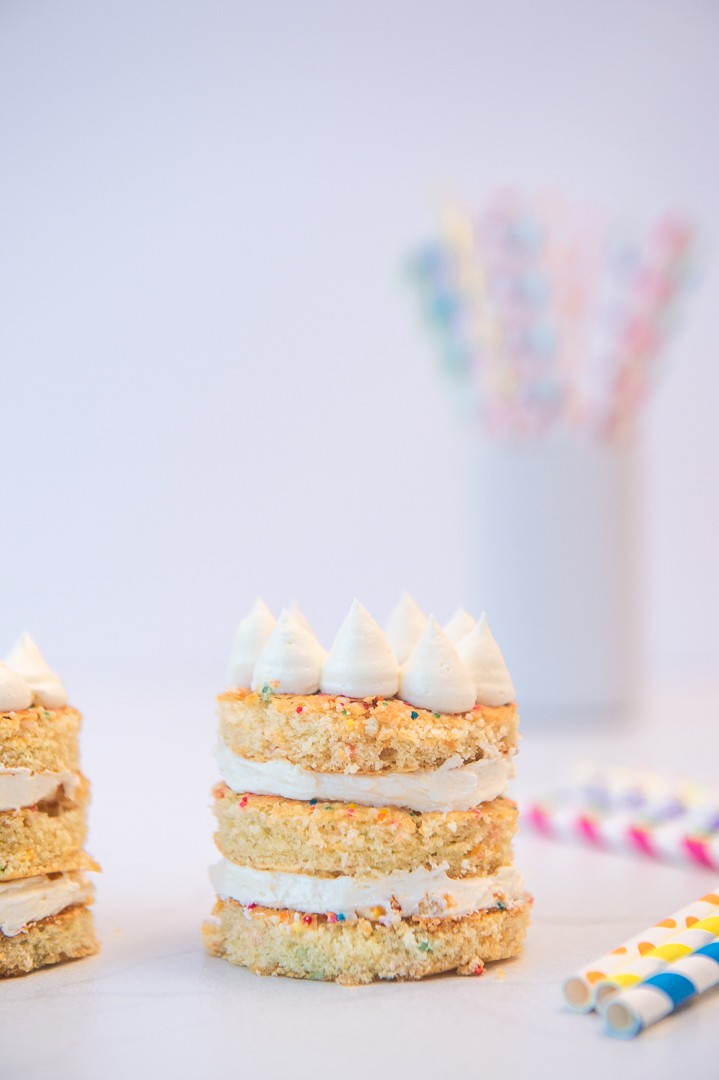
09 Apr Mini Milk Bar Birthday Cakes
It was whilst watching an episode of Chefs Table: Pastry that I learned about Christina Tosi and her famous Momofuku Milk Bar store. Christina started her bakery empire in 2008 and now has 16 Milk Bar Stores throughout the United States. She is most well-known for putting her spin on nostalgic childhood favourites like her Birthday Cake (notably with no icing on the sides) and cereal milk. I was drawn to her passion for creating fun, unapologetically sweet treats and was thrilled to find that she has generously shared the recipe for her renowned Birthday Cake online!
Unlike my chocolate cake recipe, which I have had for almost 30 years, I always struggled to find the perfect vanilla cake recipe. That’s until I made this one! Its hard to define what makes this cake stand out as the best vanilla cake ever – I think its the intense vanilla aroma (I’m not talking about real vanilla pods here, but that vanilla essence reminiscent licking the cake batter bowl when you were a kid type of flavour), the light and fluffy texture of the sponge and my favourite – the crunchy crumbles!
Admittedly, achieving this level of cake perfection does take time and effort (there are 4 elements) but the resulting cake is in a league of it’s own.

Ingredients:
(makes about 10 mini cakes)
Click here for the recipe.
(I have requested permission from Milk Bar Store to share the recipe here. Unfortunately until such time as I receive written permission I am prohibited from doing so!)
Notes:
- I used canola oil in place of grapeseed oil.
- I used Wooden Spoon white margarine as my vegetable shortening.
- I used glucose syrup in place of corn syrup.
- Clear vanilla essence, citric acid and glucose syrup are available at baking stores.
- A quarter sheet pan is approx 23 x 33cm.
Directions:
- Make the cake, milk soak, buttercream frosting and crumb as per the directions.
- Assembling the cakes: use a 6-7cm cookie cutter to cut out rounds of the cake. Spread a generous layer of the buttercream over one third of the cake rounds. Sprinkle over a little birthday cake crumb. Gently press on a second cake round and cover with a layer of buttercream. Sprinkle over a little more of the crumb. Press on the top layers of the mini cakes.
- Place the remaining frosting into a piping bag fitted with a plain round nozzle (about 0.5cm wide). Pipe “kisses” around the top edge of each mini cake (or cover the whole surface if desired). Decorate with sprinkles and more birthday cake crumb.
- Place the cakes into an airtight container and freeze a few hours (or up to 2 weeks). When you are ready to serve, defrost the cakes in the fridge for about 2 hours.


Caroline Bowman
Posted at 09:38h, 15 AprilThese look absolutely gorgeous – it’s a shame that to get the actual recipe, you have to sign up to another website though.
Astrid
Posted at 10:43h, 16 AprilHi Caroline. Thank you! I have requested permission from Milk Bar to share the recipe on my website but have not had a response as yet. Unfortunately without written permission, reproducing the recipe is prohibited :(.