
13 Jun Chocolate Whiskey Cake with Salted Caramel
I adore making celebration cakes! It’s a chance to experiment a little and play around with decorating techniques. The resulting cake simply must have that wow-factor that the recipient will remember and talk about for years! Funny thing though, when I was tasked with making a birthday cake for a male friend, I struggled a bit! So many of the beautiful cakes out there tend to look quite feminine.
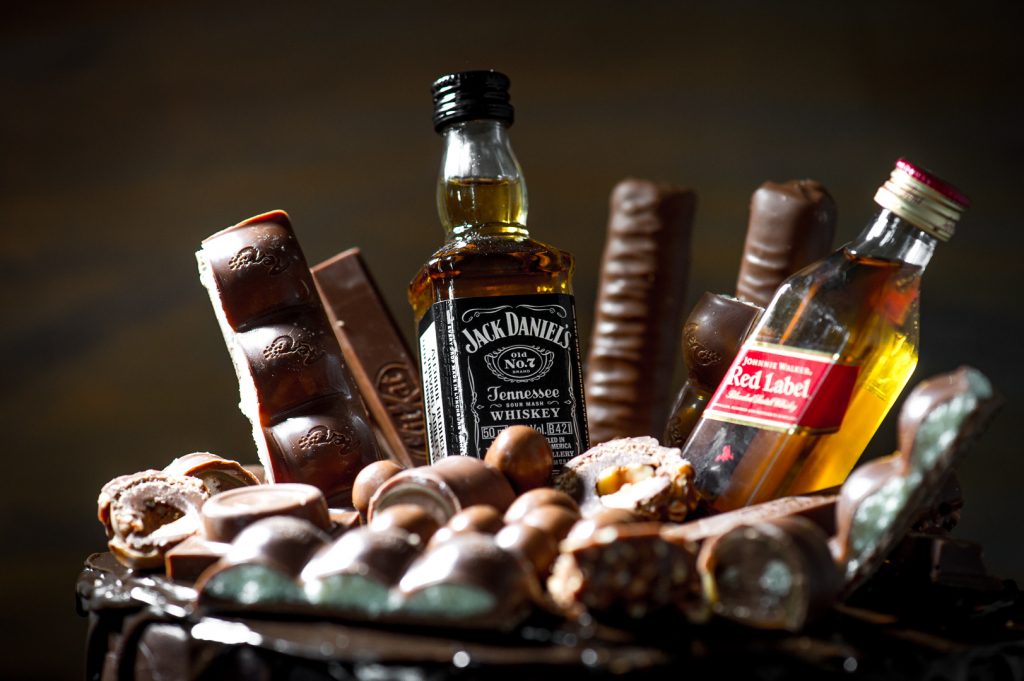
Not this Chocolate Whiskey Cake though! Big chunks of chocolate bars and little Whiskey bottles will have everyone fighting for their favourite piece. With hints of whiskey in the chocolate

Ingredients:
For the Chocolate Whiskey Cake:
190g butter
270g sugar
3 large eggs
7,5ml vanilla essence
270g flour
90g cocoa
15ml baking powder
pinch of salt
270ml milk
30ml whiskey
For the Whiskey Salted Caramel:
300g white sugar
125ml water
100ml cream
70g unsalted butter
5ml vanilla extract
5ml salt
45ml whiskey
For the Chocolate Buttercream:
150g dark chocolate
225g unsalted
400g icing
For the Dark Chocolate Ganache:
300g dark chocolate, chopped into small pieces
200ml cream
To decorate:
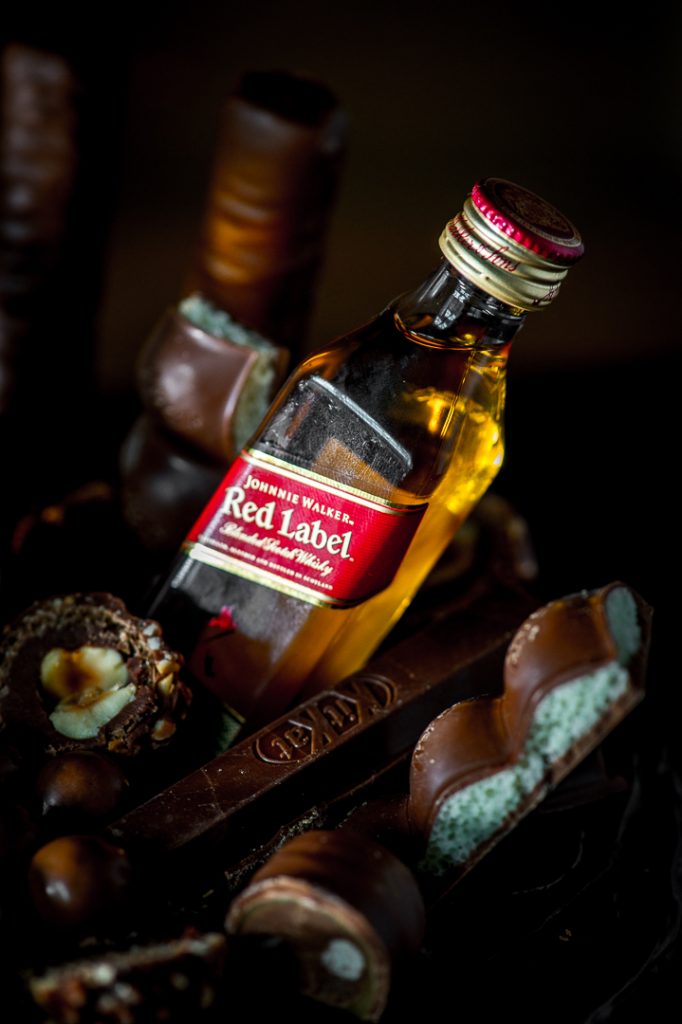
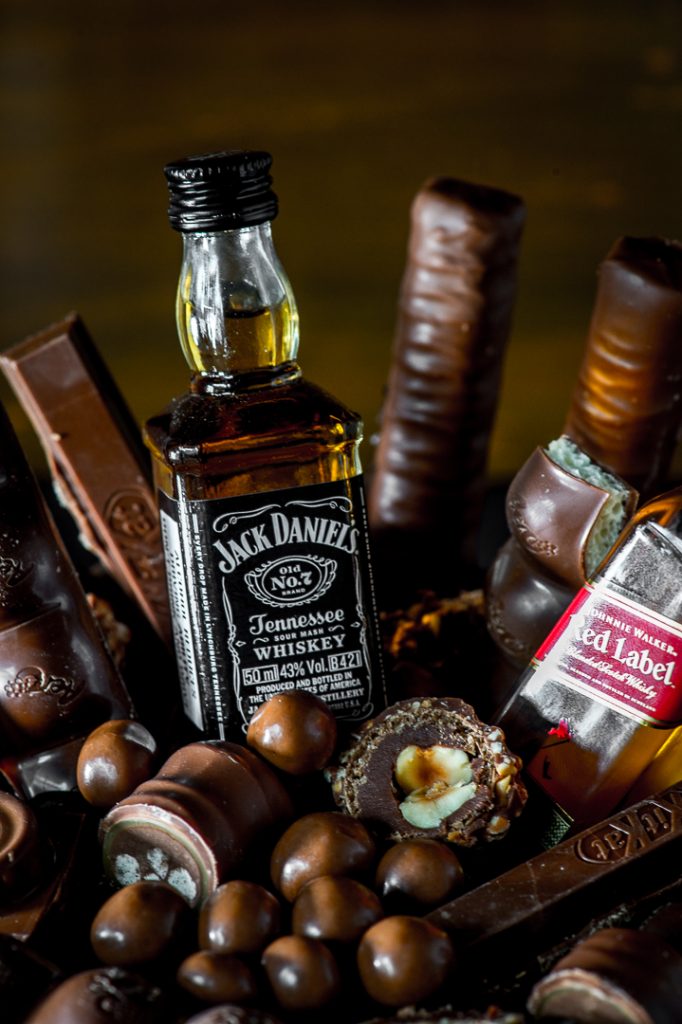
A variety of chocolate bars, chocolate truffles etc
3 x mini Whiskey bottles
Directions:
- Start by making the Chocolate Whiskey Cake. Preheat the oven to 190°C. Grease three 20cm diameter cake tins and line with baking paper.
- Cream the butter and sugar together well. Add the eggs, one at a time and beat very well. Add the vanilla extract and continue beating until the sugar is well dissolved.
- Sift all the dry ingredients together in a separate bowl. Add the dry ingredients to the creamed mixture alternately with the milk, beating well in-between every addition. Gently stir in the whiskey.
- Divide the mixture equally between the cake tins, smoothing the mixture evenly. Bake for 25-30 minutes, or until a skewer inserted in the middle comes out clean (I find baking max 2 tins at a time is best).
- Cool for 5-10 minutes in the tins, then remove and allow to cool completely on a cooling rack.
- Next, prepare the Whiskey caramel. Place the sugar and water in a heavy-bottomed saucepan over low heat. Cook without stirring until the sugar dissolves. Use a wet pastry brush to wash down any sugar crystals from the sides of the pan. This prevents the caramel from crystallising.
- Increase the heat to medium-high and continue cooking until the syrup turns a caramel or amber colour (this requires some patience, but keep watching it – after ages of no change in colour it suddenly turns!). If you have a sugar thermometer this is at around 174°C.
- Remove the pan from the heat and quickly stir in the cream. It will bubble up! Cook for another 1 or 2 minutes stirring constantly with a wooden spoon until smooth. Remove from heat and add the butter, vanilla extract and salt. Stir well until smooth.
- Leave to cool for about 30 minutes, then stir in the whiskey. Keep covered at room temperature until required.
- To make the chocolate buttercream, melt the dark chocolate in the microwave at 30-second intervals, or over a pan of simmering water. Set aside to cool.
- Cream the softened butter well until light and fluffy. Gradually add in the icing sugar and beat until smooth. Lastly, fold in the cooled melted chocolate. Refrigerate until needed, then bring to room temperature before using.
- To make the dark chocolate ganache, heat the cream until just beginning to bubble at the edges. Pour over the chopped chocolate and leave to stand for 2 minutes. Stir until smooth. Refrigerate until needed, then bring to room temperature before using. If it is too thick to pour, heat gently in a bowl of warm water.
- To assemble the cake, place one cake layer onto a cake board or serving dish. Pipe a circle of buttercream around the outer edge, then fill
centre with some whiskey caramel. Place the second cake layer on top and repeat with the buttercream and caramel. Finally, top with the third cake layer and cover the top and sides of the cake with more chocolate buttercream. Use a cake scraper or palette knife to smooth the buttercream neatly. Freeze the cake for at least 1 hour until the icing is ice cold. - Place about half the ganache into a squeeze bottle and drip down the edges while rotating the cake. Spread the remaining ganache over the top of the cake. (If you don’t have a squeeze bottle, you can pour the ganache onto the cake and guide drips down the edge with a teaspoon).
- Decorate the top of the cake with mini whiskey bottles and chopped chocolate bars.
Karen
Posted at 23:23h, 09 OctoberWhat size baking pans did you use here?
Astrid
Posted at 09:24h, 21 OctoberHi there
I used 3 x 20cm diameter cake pans for this cake 🙂
Karishma Mahado
Posted at 19:47h, 08 JuneHi there
What would I replace the whiskey with, if I wanted to leave it out of the cake batter?
Astrid
Posted at 08:52h, 12 JuneHi Karishma! You can replace it with milk in the cake batter and use my standard salted caramel for the filling (in my Chocolate Salted Caramel tart recipe)
Emily Schmidt
Posted at 17:24h, 11 DecemberHi there. Does this cake sponge freeze well? I would like to make it a bit in advance and just freeze the sponges and then assemble and decorate the day before I need it?
Astrid
Posted at 15:41h, 04 JanuaryHi Emily. Yes you can easily freeze the sponges – just wrap in clingwrap and then in foil once the sponges have cooled completely.
Amy Isler Gibson
Posted at 21:12h, 02 JanuaryAs a painter and sculptor, I have got to say: this is your art, and also shows a creativity beyond! Would love to see what happens if you picked up a paintbrush or some clay! What a gorgeous eye you have, and a wonderful, whimsical imagination. Love!
Astrid
Posted at 15:35h, 04 JanuaryHi Amy
Thank you so much, you are very kind. Have never tried painting but will have to give it a go someday!