10 Feb Celebration Cream Tart
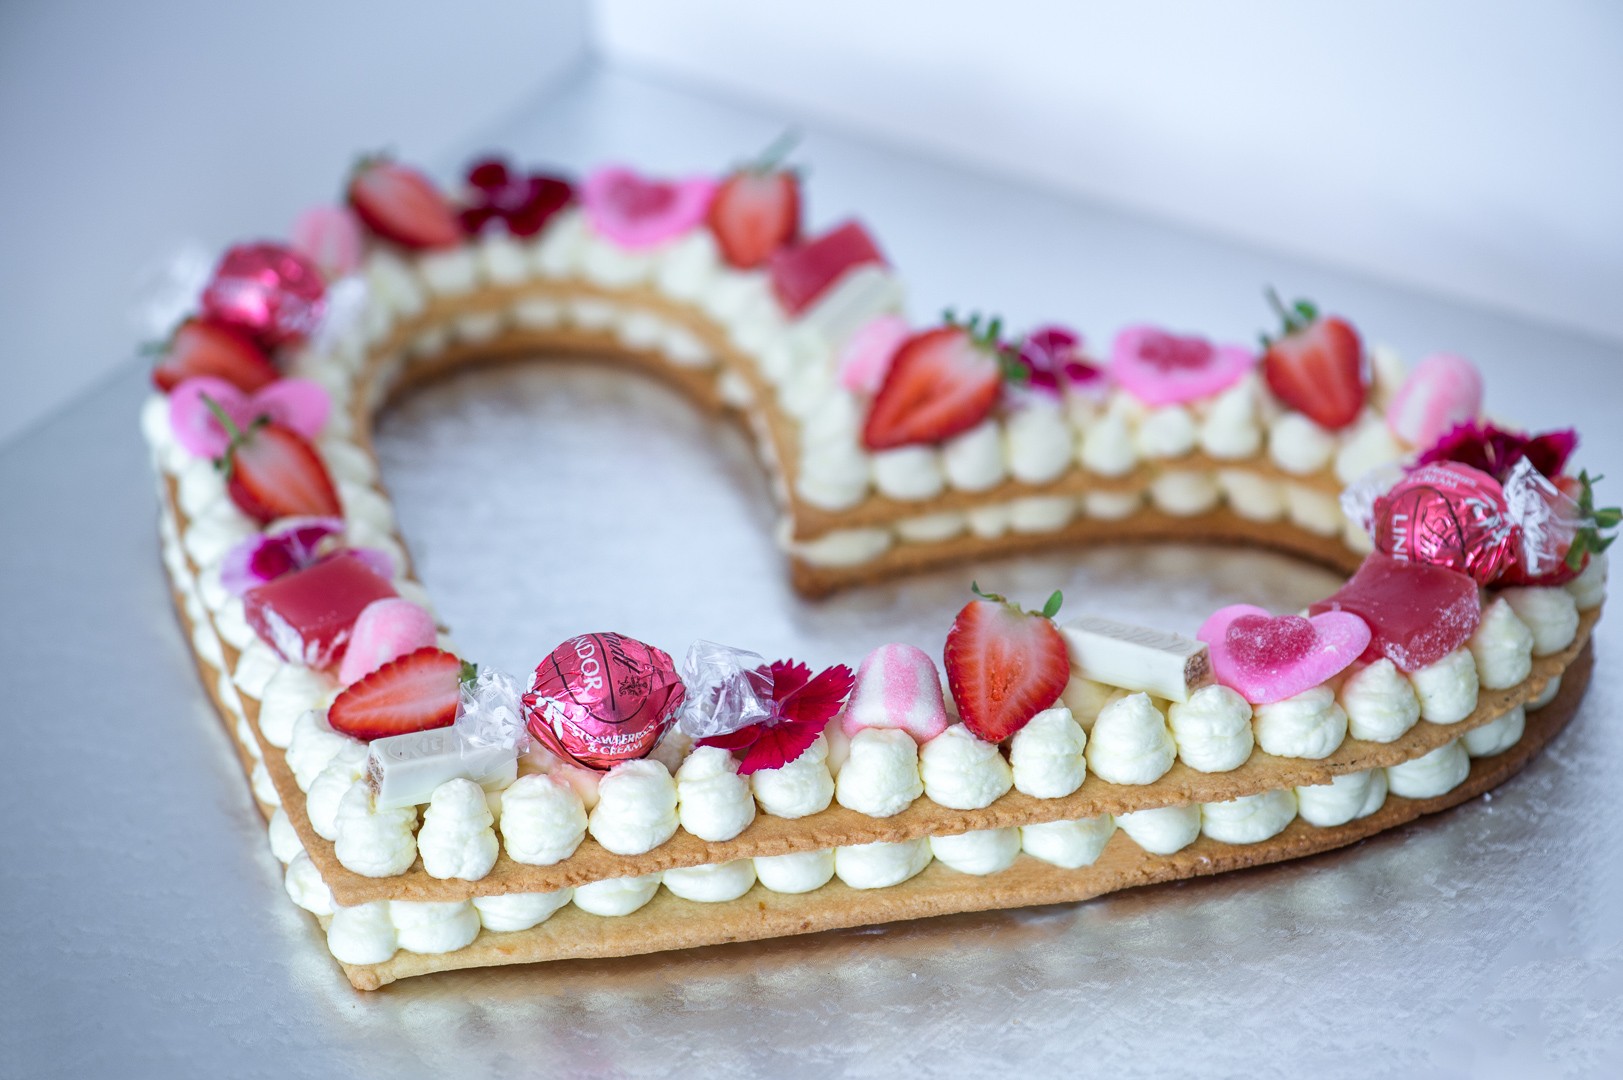
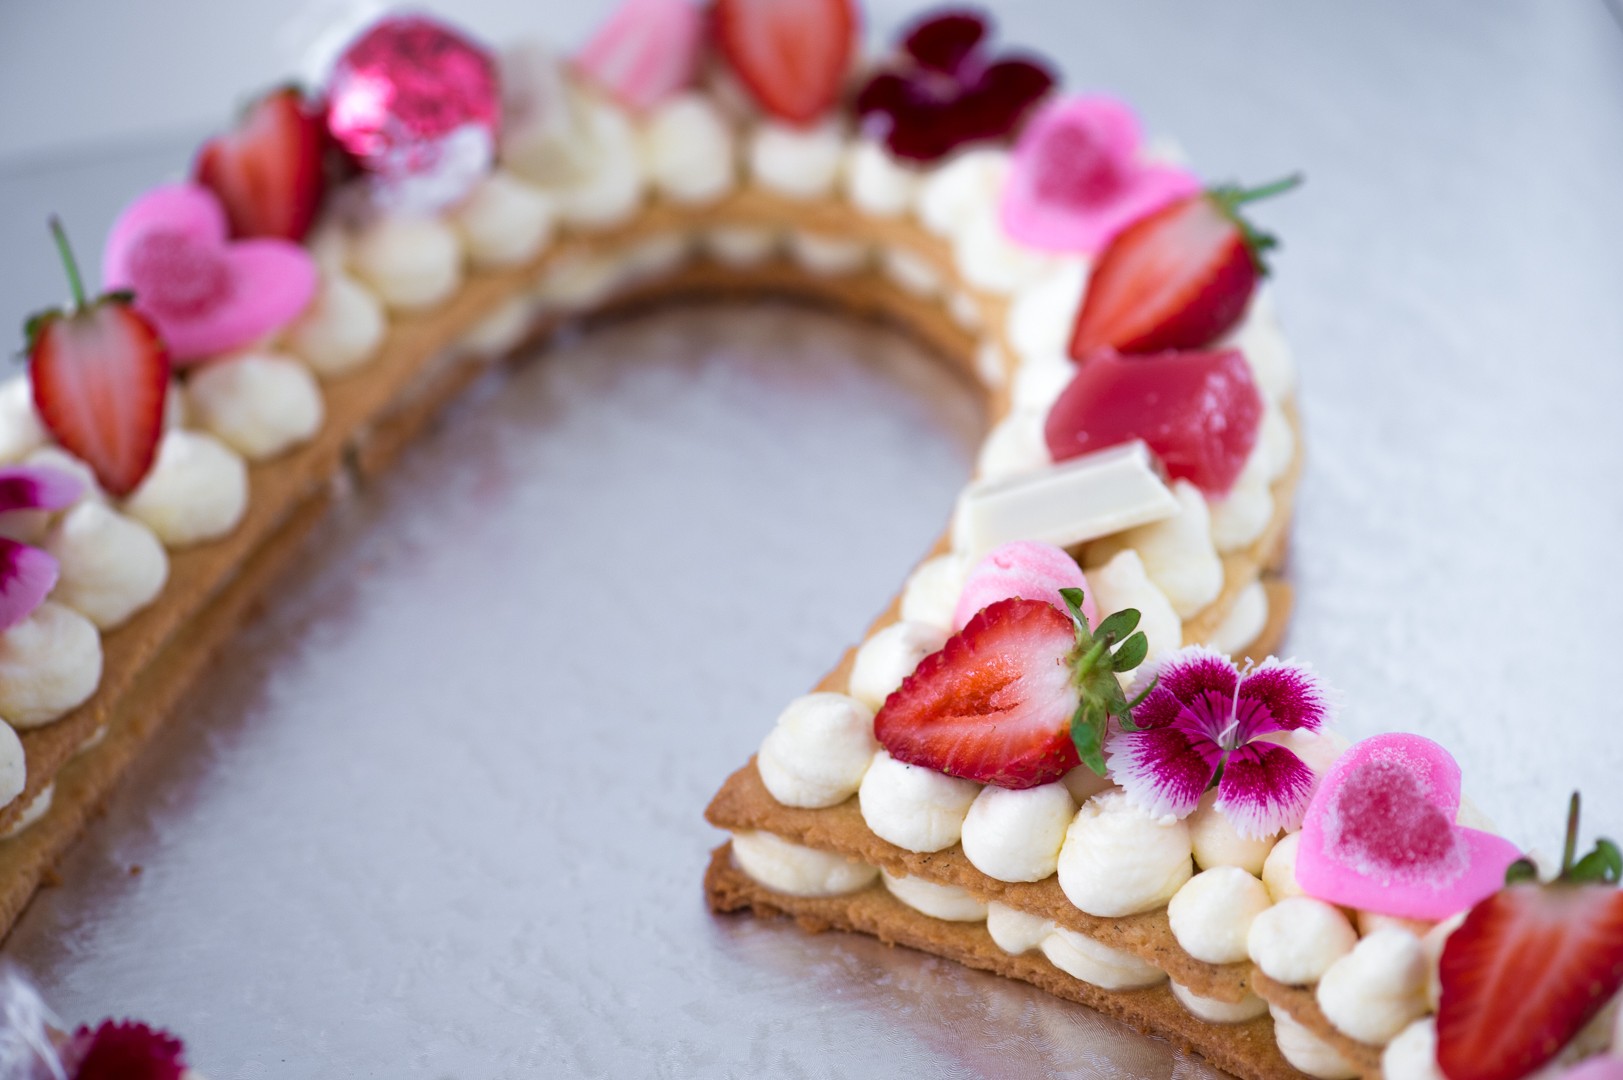
A few weeks ago, I spotted something rather breathtaking on Instagram. A woman (you could call her a genius actually) named Adi Klinghofer invented an incredible “cake” and it went viral. The “cakes” are actually more like a cream tart – 2 layers of biscuits, filled and topped with cream and beautifully decorated with fruit, flowers, sweets, meringues and macarons.
The wonderful thing about this Celebration Cream Tart is that you need no fancy equipment or skills to make it! You can make the biscuits into numbers, letters or any shape you like (with Valentine’s Day around the corner, I naturally chose to do a heart). You can find all sorts of stencils online to print out and use to cut the dough, or even free-hand something yourself.
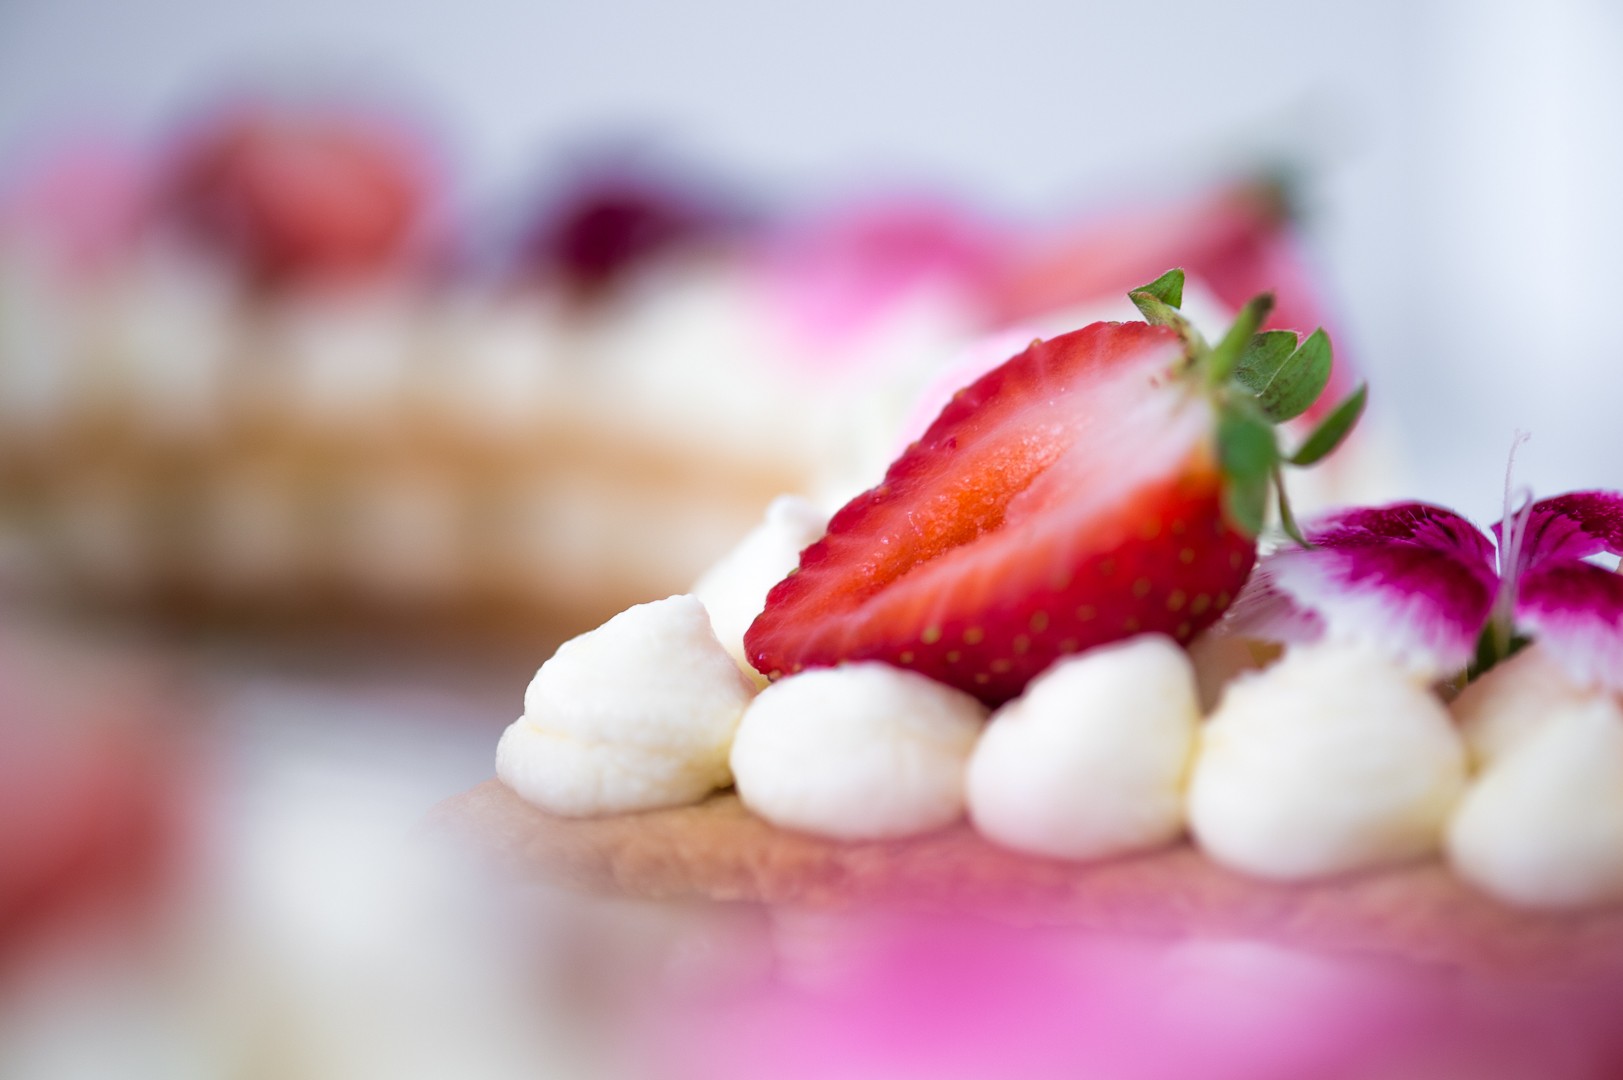
The other great thing here is that you can customise the tart flavour completely. I used lemon zest to flavour the biscuit but go for any essence you like, or even make a chocolate version. The cream can also be coloured and flavoured as you please (although I must say that the white cream makes the best background for the colourful treats on top.) Then of course you can go completely wild with the decorations using any fruit, sweets and edible flowers that you like (please double-check the flowers are edible though!).
In my research I did find versions of this tart made with an Italian meringue/marshmallow-type filling. The advantage of this is that you get a really striking white filling and the tart won’t require refrigeration as the meringue is “cooked”. It would also be more stable on a hot day. On the downside, it will make the tart rather sweet. If you want to use this filling instead of the mascarpone cream, you can use my Marshmallow Topping recipe from my S’mores Tartlets.

Ingredients:
For the Biscuit:
185g cold butter
200g castor sugar
350g flour
7ml lemon zest
pinch of salt
1 large eggs
1 large egg yolk
For the Mascarpone Cream:
250ml cream
100g icing sugar, sifted
5ml vanilla extract
500g mascarpone
To decorate:
Strawberries or other chopped fruit
A variety of sweets, meringues and chocolates to suit your colour scheme
Edible flowers
Directions:
- To make the biscuit, place the butter, castor sugar, flour, lemon zest and salt in a food processor. Blitz until you have a fine breadcrumb consistency. (If you don’t have a food processor, either use a pastry cutter or use your fingers to rub the flour and sugar into the butter, then add the lemon zest and salt).
- Lightly beat the egg and egg yolk together, then add to the flour mixture and mix until just combined. Do not overwork the dough. Divide the mixture into 2 flat discs, cover with clingfilm and refrigerate for 2 hours.
- Print/draw and cut out your templates. There is enough dough to make 4 number biscuits or 2 large hearts with some dough leftover. My numbers were each just under an A4 size, and my heart was about 25cm x 25cm.
- Working with 1 disc of dough, roll the biscuit dough between 2 sheets of greaseproof paper to 3mm thick. Trace around your template and remove any excess dough. Try to keep the edges as neat as possible! If the dough is too sticky after rolling, freeze it for 5 min before cutting out your shape. Carefully transfer to a baking tray (together with the underlayer of greaseproof paper). Prick all over with a fork. Roll the excess dough out and repeat with the same template. Refrigerate again for 1 hour.
- Preheat the oven to 170°C and bake the biscuits, one tray at a time, for 10-15 minutes. Watch closely and remove as soon as the biscuit starts to brown around the edges. Leave to cool on the tray for 5 minutes, then remove and cool completely.
- Start working with the 2nd disc of dough, repeating the process of rolling, cutting and baking with the second number. If you are making a heart, you will only need about ⅔ of the dough to make two hearts. The rest of the dough can be frozen for up to 3 months.
- Once the biscuits have cooled completely, you can store the biscuits in an airtight container (if you have one large enough!) for up to 4 days.
- To make the mascarpone cream, whip the cream with 2 tablespoons of icing sugar until soft peaks form. Gently beat the mascarpone until softened, then add remaining icing sugar and vanilla and mix until smooth. Do not overmix.
- Gently fold the whipped cream into the mascarpone mixture until combined. Place into a piping bag fitted with a large round nozzle and refrigerate until needed.
- When you are ready to assemble, place the first number biscuit onto the serving platter or cake board you will present it on. Pipe two rows of mascarpone cream “kisses” to cover the entire surface of the biscuit, keeping them all the same size. Gently place the next biscuit on top, then repeat. Do the same with the second numbers.
- Use your fruit, sweets and flowers to decorate the numbers as desired, then serve. Refrigerate until you are ready to serve. The tart is best served the same day, as the biscuit will start to soften in the fridge.


No Comments