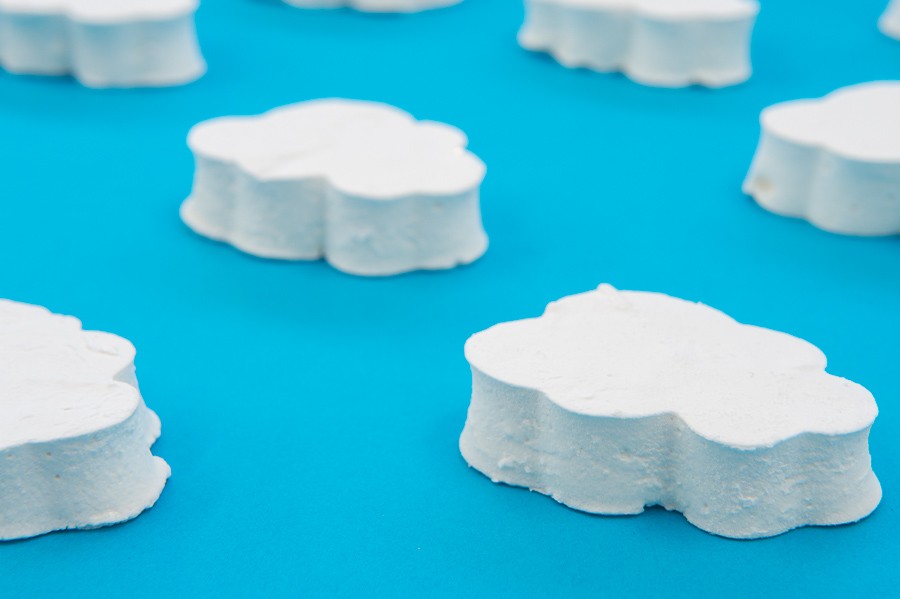
09 Dec Vanilla Marshmallow Clouds
I have been wanting to make marshmallows for a very long time. So when I got my beautiful Kenwood Chef Titanium stand mixer as a birthday gift, the first thing I made was these yummy vanilla marshmallows! I generally believe that anything home-made tastes better than shop-bought, but certain home-made goodies are really streets ahead of the bought variety. Marshmallows fall into that category. The texture is just so light and fluffy, they almost melt in your mouth. Just like little puffy clouds. Once you have mastered the basic recipe, you can play around with all sorts of flavours and colours too.
You really do need a stand mixer to make these, an electric mixer is just not strong enough to whip the thick, sticky mixture. A sugar thermometer is important too, as the syrup needs to reach just the right temperature for the recipe to work. If you can, make these on a dry day – high humidity will increase the stickiness and make the marshmallows more tricky to handle.
Ingredients:
Gelatine mixture:
45ml unflavoured powdered gelatine
125ml cold water
30ml vanilla extract
Syrup:
180ml water
375ml granulated sugar
315 ml liquid glucose (available at baking stores)
Pinch of salt
Powder coating:
375ml icing sugar
125ml cornstarch
Directions:
- Spray a 23cm x 33cm baking tin with cooking spray. Use a paper towel to spread it evenly on all surfaces.
- Combine the 125ml cold water and vanilla in a small bowl. Sprinkle over the gelatine powder and leave to “bloom”. After a few minutes stir the mixture and make sure there are no large lumps. Pour this into the bowl of your stand mixture (fitted with the whisk attachment).
- Pour the 180ml water into a medium saucepan. Pour the sugar, liquid glucose, and salt on top. Do not stir.
- Place the saucepan over medium-high heat. Bring the mixture to a full boil (all of the liquid should be boiling).
- As it is coming to the boil, occasionally dip a pastry brush in water and brush down the sides of the pot. This prevents sugar crystals from falling into the liquid, which can cause the syrup to crystallise. Once the mixture has started boiling, do not stir or it may crystallise.
- Clip a sugar thermometer to the side of the saucepan and continue boiling until the sugar mixture reaches 120°C. Take the saucepan off the heat and remove the thermometer.
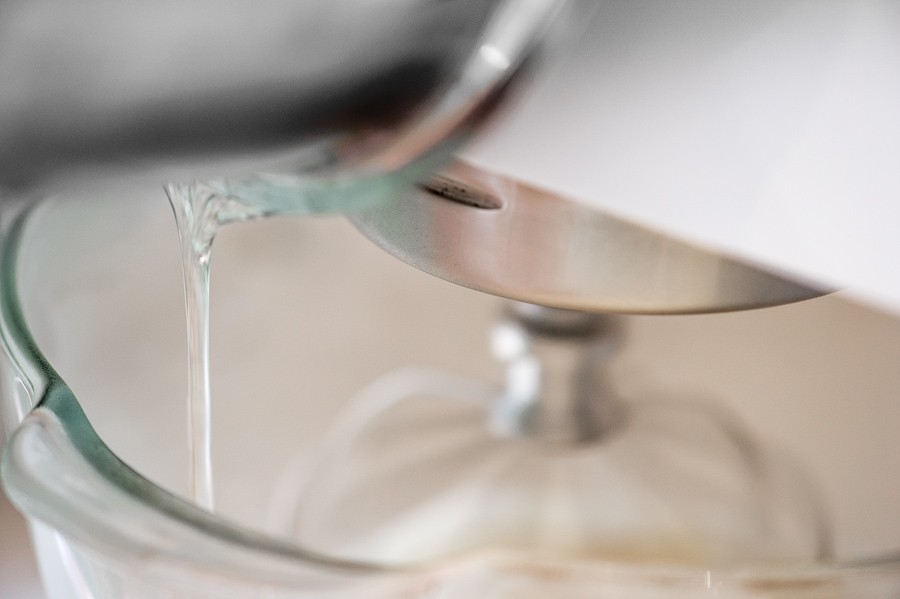
- Turn on your stand mixer and set to a medium speed. Carefully pour the hot sugar syrup down the side of the bowl into the gelatine. The mixture may foam up a little.
- When all the syrup has been added, increase the speed to high. Beat marshmallows for 10 minutes. The mixture should be thick and glossy. At first, the liquid will be very clear and frothy. Around 3 minutes, the liquid will start looking opaque, white, and creamy, and the bowl will be very warm to the touch. Around 5 minutes, the mixture will start to increase in volume. The marshmallow may not change visually in the last few minutes, but continue beating for the full 10 minutes. When you finish beating and stop the mixer, it will resemble soft-serve vanilla ice-cream.
- Immediately transfer to the baking tin using a spatula. You need to work very quickly now as the mixture will start to set fast. (This is quite a messy job!)
- Spray your hands lightly with cooking spray and smooth the top of the marshmallow to make it as even as possible. Let the mixture sit uncovered and at room temperature overnight to set.
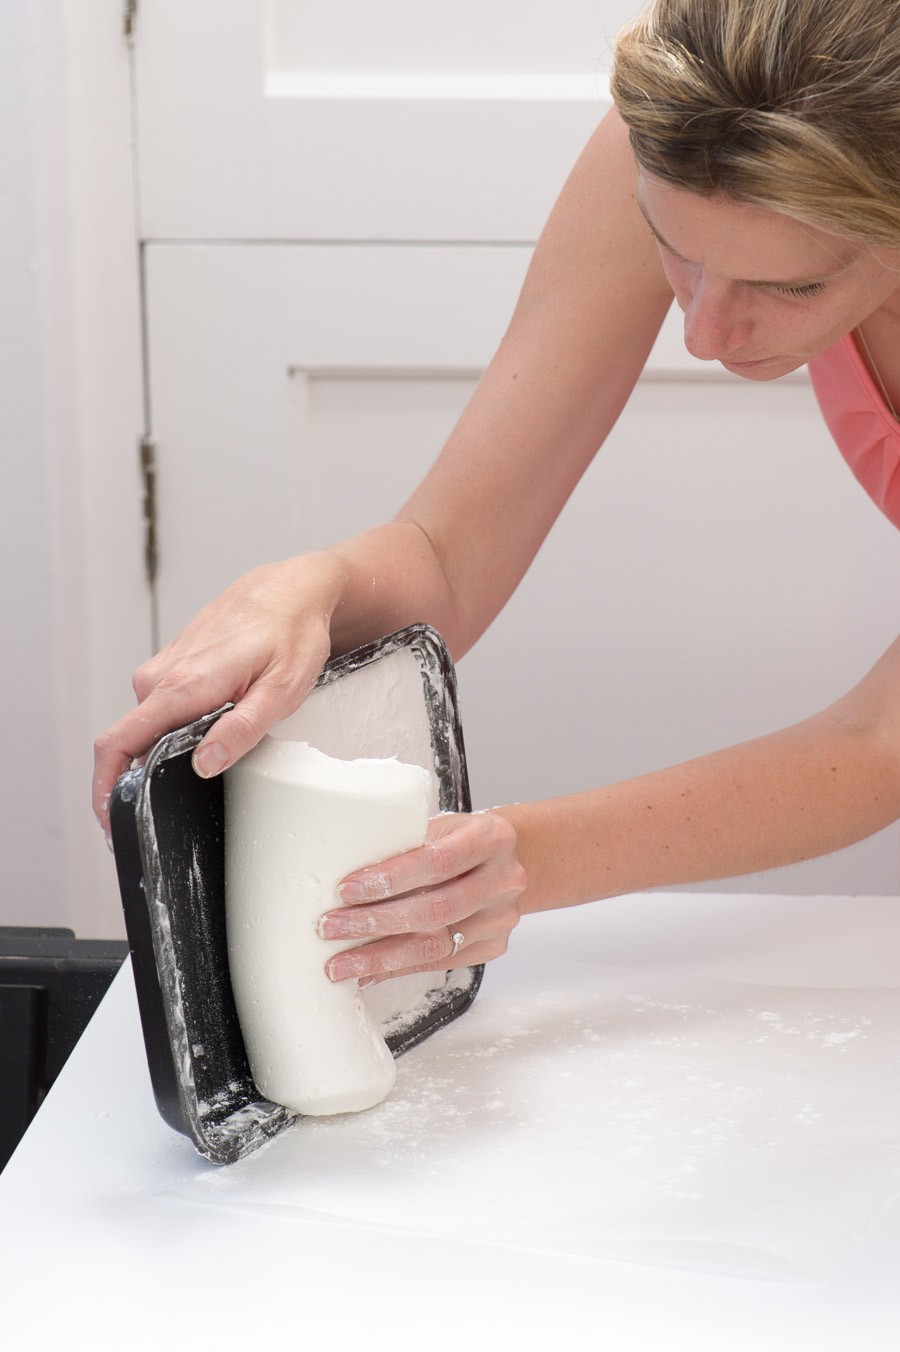
- Sift together the icing sugar and cornstarch in a bowl. Sprinkle the top of the marshmallows with some of the coating mix and smooth it with your hand. Flip the block of marshmallows out onto your work surface. Use a spatula to pry the block out of the tin if necessary. Sprinkle more coating mixture over the top of the marshmallow block.
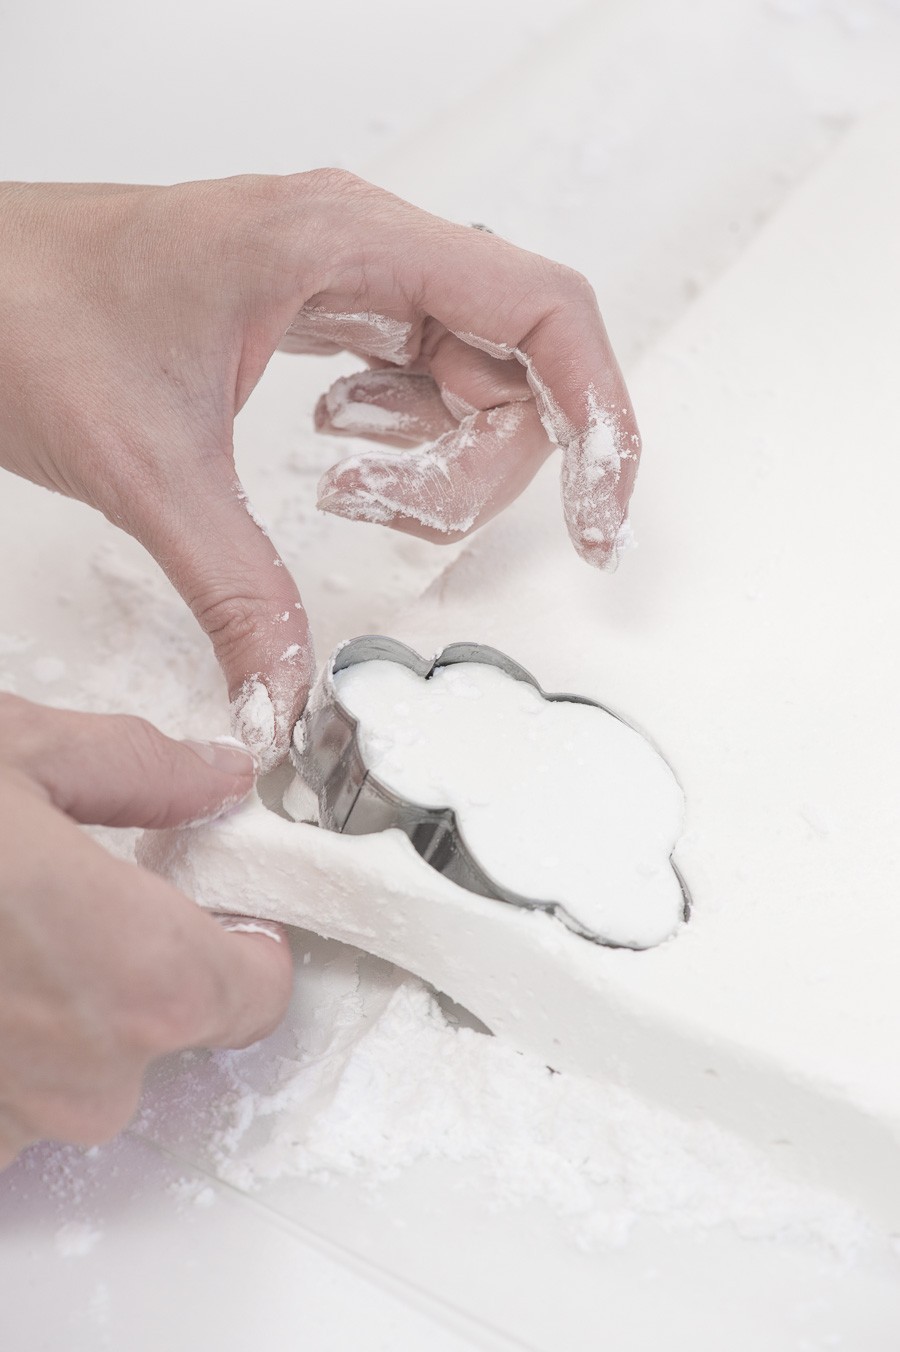
- Use a cloud cookie cutter to cut the marshmallows into cloud shapes. Or use a sharp knife to cut the marshmallows into squares. I found it helped to dip the cookie cutter into the coating mixture regularly as the marshmallows can be quite sticky.
- Toss each marshmallow in the coating mix well so that all the sides are evenly coated.
- Store the marshmallows in an airtight container at room temperature. They will eventually start to go sticky, so best eaten within a few days.


Elke
Posted at 19:08h, 10 DecemberI’m going to try this recipe for a Christmas gift for a friend who is highly allergic to gluten (a celiac). It should be successful – your instructions are always so detailed and clear. Thanks so much!
Astrid
Posted at 16:42h, 12 DecemberGreat idea for a gluten-free gift. I’m sure you won’t have any trouble with it, Elke!
Non Smit
Posted at 20:00h, 23 JanuaryThis makes me drool for those soft cloud-like marshmallows yum! If it was not fir the rain today, i would have jumped right in! Your recipes are a glorious read every single time. So glad i know you Sandra!
Astrid
Posted at 09:43h, 27 FebruaryHi Non! Thank you for your kind words, much appreciated ❤️😊
Claire
Posted at 20:10h, 12 AprilHello, thank you for the recipe. I don’t quite understand the measurement for powdered gelatin (it is a powder but the measurement is in ml?)
Thank you for your help!
Astrid
Posted at 16:56h, 21 MayHi Claire. Yes as it is a small quantity it is easier to measure the gelatine in teaspoons than to weigh it 🙂