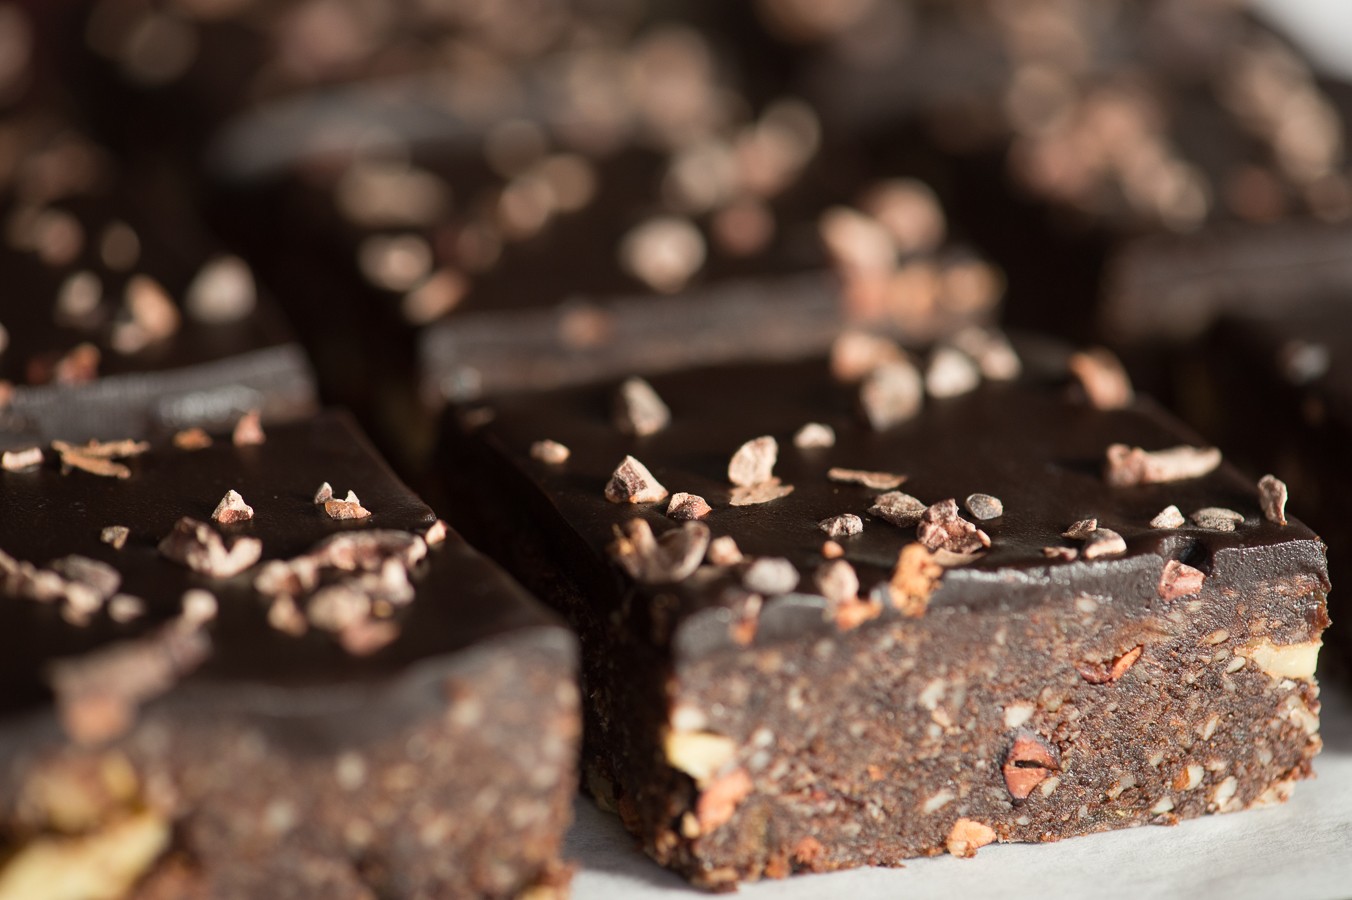
04 Jul Raw Vegan Brownies with Cacao Nibs
Raw Vegan Brownies. Not what you were expecting from me, was it? It’s true, I usually aim for decadence at all costs without much consideration for health or dietary requirements. But isn’t it time our vegan friends got to enjoy some decadent treats too?
These “brownies” have a dense and fudgy texture, with a lovely bit of crunch from the nuts. Fresh Medjool dates (currently in season) provide just enough sticky sweetness, and the cacao nibs impart the rich chocolate flavour. Cacao nibs are a very pure, unsweetened form of chocolate made by crushing cacao beans.
If you are sceptical about trying these, rest assured that I would not put my name behind a recipe I didn’t find absolutely delicious!
Feel free to use any other combination of nuts you like, and increase the cocoa powder to ¾ cup if you’re a serious chocoholic! As a bonus, these brownies are also gluten-free.

Ingredients:
(Makes about 20)
Brownie layer:
1 cup almonds
1 cup walnuts
½ cup cocoa powder
a pinch of salt
400g pitted Medjool dates
1 tsp vanilla extract
2 tbs Superfoods Organic Cacao Nibs (available at Faithful to Nature)
½ cup walnuts, roughly chopped
Chocolate Glaze:
½ cup coconut oil
½ cup cocoa powder
⅓ cup maple syrup/agave (use honey if vegan is not a requirement)
a pinch of salt
1-2 tbs cacao nibs, to decorate
Directions:
- Line a 20cm x 20cm baking tin (or use a smaller tin if you prefer a thicker brownie) with greaseproof paper, leaving the edges a bit higher than the side of the tin so that you can remove the brownies easily.
- Using a food processor, process the almonds and 1 cup of walnuts until finely ground.
- Add the cocoa and salt and process again. Remove this mixture from the processor and set aside.
- Process the dates in the food processor until they form a sticky ball, but no large pieces remain. Remove from the processor and set aside.
- Add the nut and cocoa mixture back to the food processor. With the processor running, gradually add in heaped teaspoonfuls of the dates via the spout.
- Continue adding in all the dates and blend well. Add in the vanilla extract.
- Empty the mixture into the lined baking tin. Sprinkle the cacao nibs and ½ cup chopped walnuts over and stir gently with a spoon.
- Once the nuts and cacao nibs are more or less evenly distributed, press the mixture firmly into the lined baking tin. I find it easiest to lay another sheet of greaseproof paper over the mixture and push down with my hands. Refrigerate the brownie layer while you make the glaze.
- Melt the coconut oil, then whisk in the maple syrup, cocoa and salt. Mix well until smooth.
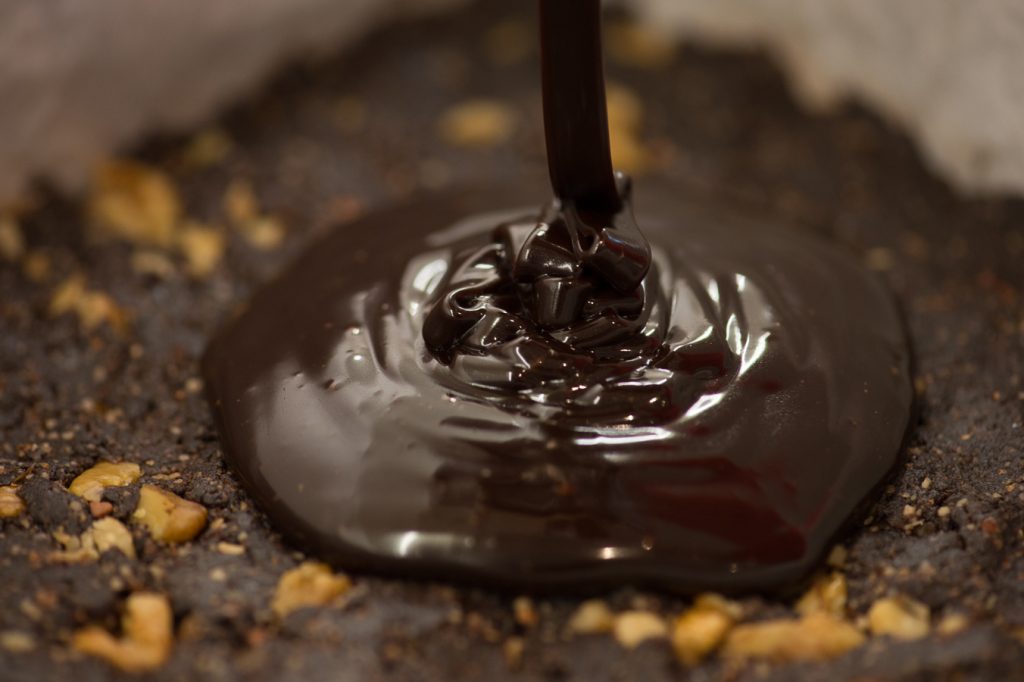
- Pour the warm glaze over the brownie layer and tilt the pan to spread evenly. Sprinkle the remaining cacao nibs over the glaze.
- Refrigerate the brownies for 1 hour. Lift the greaseproof paper edges to remove the brownies from the tin. Slice into squares and enjoy!
- Store in an airtight container in the fridge.


Janisha
Posted at 16:23h, 04 JulyLooks delicious !
Should the brownies be stored in the fridge, or can they stay out ? Tnx 🙂
Astrid
Posted at 08:16h, 07 JulyThanks Janisha! Best to keep them in the fridge 🙂