
20 Oct Fault-line Halloween Cake with M&M’s Spiders and Skittles Eyes
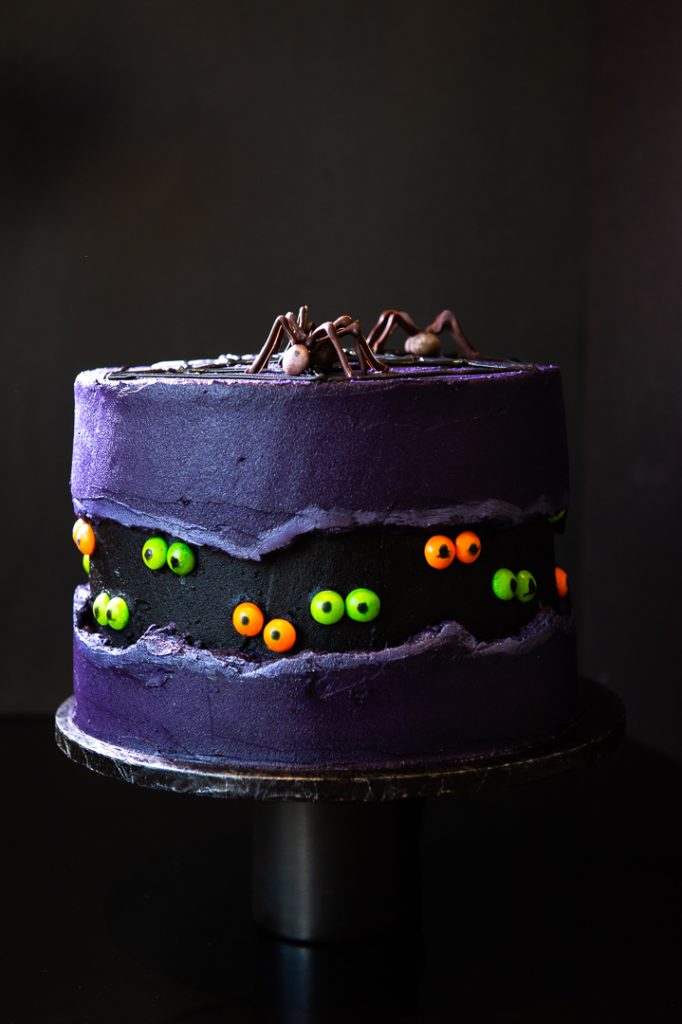
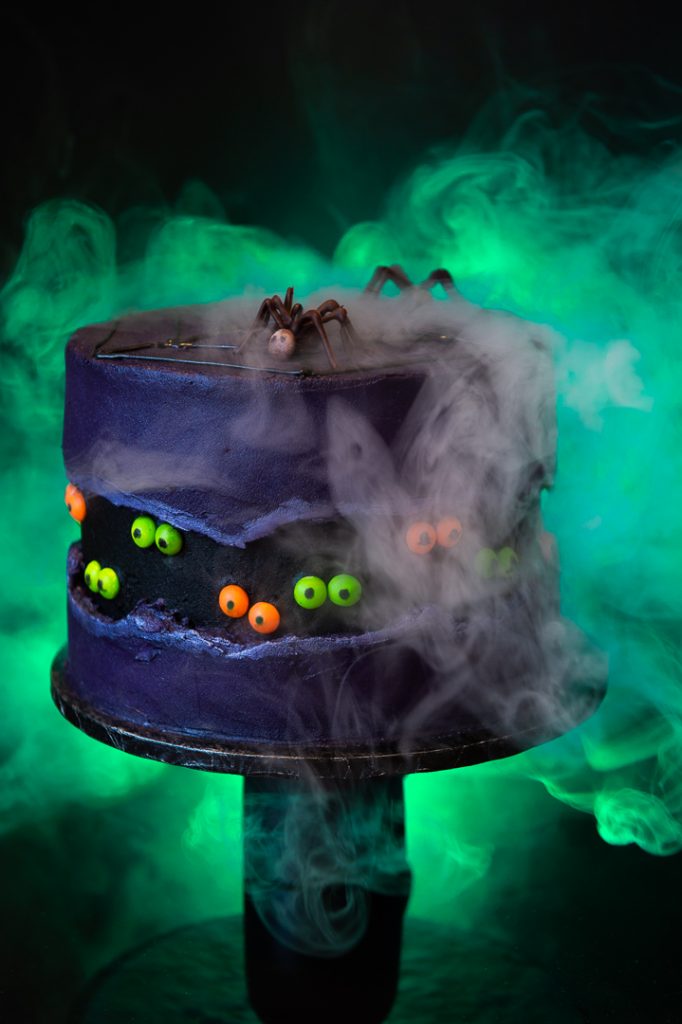
Halloween is the perfect time to get into the spirit of things and make a spine-chillingly scary showstopper of a cake! I’ve been obsessed with the fault-line cake trend that’s recently hit Instagram, so I decided to make a Halloween version. Fault-line cakes are iced in a such a way that the cake appears to have a break through the middle exposing an inner layer that can be decorated in any number of ways. Although it may look complicated, it’s actually very easy to achieve this striking effect.
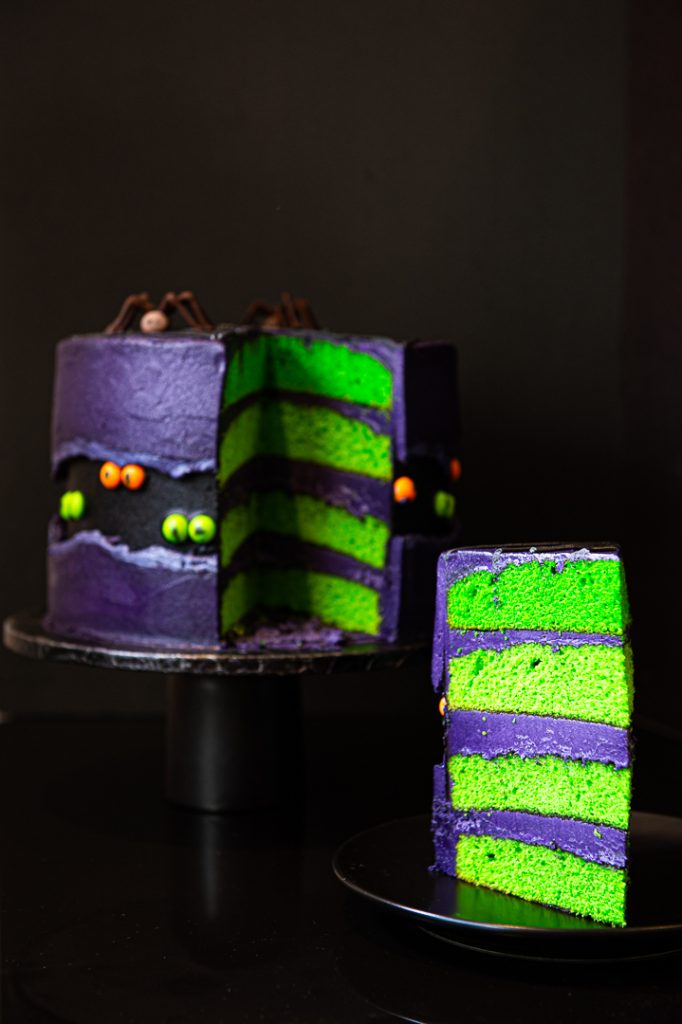
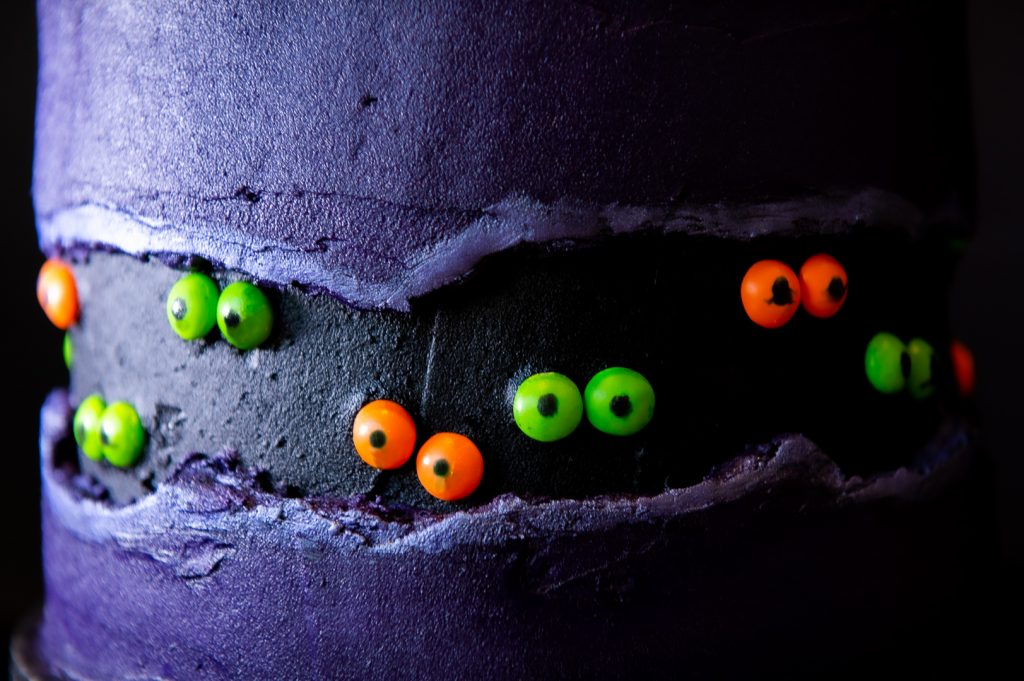
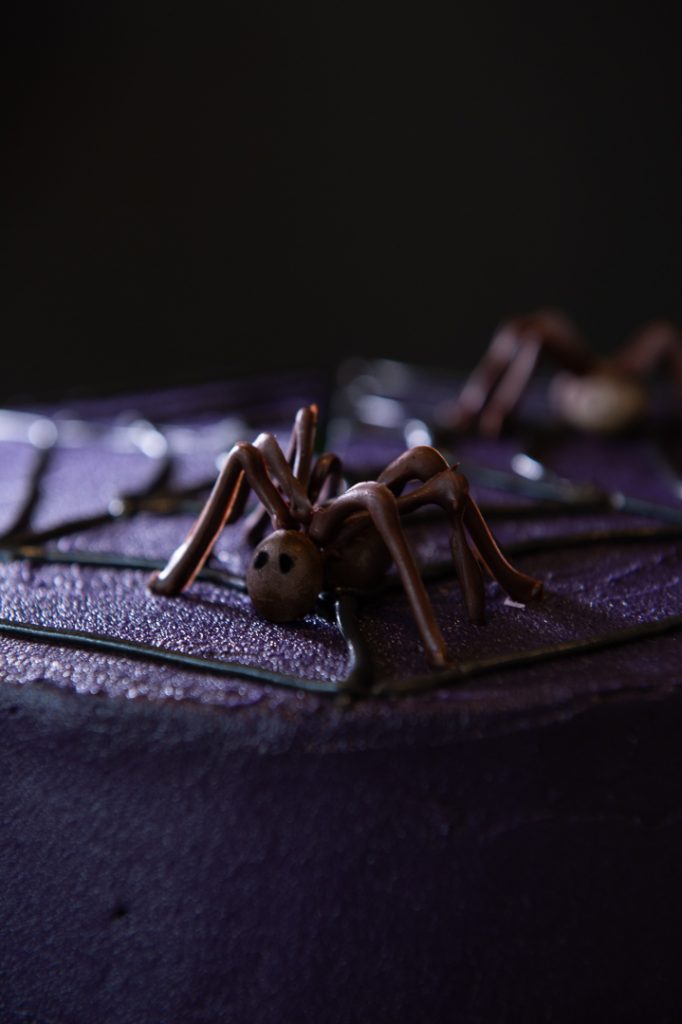
My idea was to have some creepy eyes peeking through the darkness of the “cracked” purple buttercream, and bright, fruity Skittles worked perfectly for this. Then I used both Peanut and Classic M&M’s to make some spooky spiders for the top of the cake. Cutting a slice reveals an equally frightening inside, with 4 layers of slime-green sponge and petrifying purple buttercream.
Ingredients:
For the Slime Green Cake:
335g salted butter, softened (1½ cups)
500g sugar (2½ cups)
7 large eggs
15ml vanilla essence (1 tbsp)
600g flour (4¼ cups)
30ml baking powder (2 tbsp)
300ml milk
green and yellow gel food colouring
For the Purple and Black Buttercream:
400g unsalted butter, softened (1¾ cups)
185g white margarine, softened (¾ cup)
10ml vanilla essence (2 tsp)
1,125 kg icing sugar, sifted (9 cups)
45-60ml cream (3 – 4 tbsp)
Purple gel food colouring
Black gel food colouring
60ml cocoa, sifted (¼cup)
To decorate:
Brown Peanut M&M’s
Brown Classic M&M’s
50g dark chocolate
Orange and Green Skittles
Black food Marker
(or black gel food colouring and vodka)
Edible purple shimmer dust
Directions:
- Preheat the oven to 180°C. Grease and line 2 x 20cm diameter cake tins with baking paper. Cream together the softened butter and sugar for 4-5 minutes until light and fluffy using an electric/stand mixer. Add the vanilla essence and eggs and mix well.
- Sift the flour and baking powder into a bowl. Stir enough green and yellow gel colour into the milk to create an intense slime-green colour. Alternate adding the dry and wet ingredients to the creamed mixture, scraping down the sides of the bowl in-between and mixing well.
- Add one quarter of the mixture (about 500g) to each cake tin and smooth the top. Bake for 30-35 minutes, or until a skewer inserted into the cake comes out clean. Allow the cakes to cool for 10 minutes in the tins, then turn out onto a cooling rack and cool completely. Clean the tins then grease and line again. Divide the remaining mixture between the tins and bake as above.
- To make the icing, cream together the butter and margarine until smooth. Add the vanilla and about a third of the icing sugar and mix again. Add the remaining icing sugar gradually, mixing well, then beat in 3 tbsp of cream. Remove about 1½ cups of the icing for the black icing and place in a small bowl. To this, mix in the cocoa powder and enough black food colouring to get a very black icing. Add in a few drops of cream if it is too stiff.
- To the remaining icing, add enough purple colouring to get a deep dark purple colour. Place into a very large piping bag fitted with a plain round nozzle. Keep both icings covered at in the fridge until required. If it feels too hard when you plan to use it, leave at room temperate for an hour.
- To make the spiders, melt the chocolate (in the microwave on low heat or in a heatproof bowl over a pan of simmering water) and pour into a piping bag fitted with a writing nozzle. Lay some baking paper onto a flat plate or tray. Pipe little upside ✓-shapes – these will form the legs. Refrigerate until set. Using some melted chocolate, glue a classic M&M to the end of a Peanut M&M to make the spider’s body. Cover and refrigerate until set.
- Using a black food marker, draw little circles onto the Skittles to create eyes. Alternatively, you can mix a few drops of black food colouring with a few drops of vodka in a small dish and paint the eyes on with a clean, thin paintbrush. Draw eyes on the M&M spider faces too.
- When the cakes have cooled, use a serrated knife to cut off any uneven or raised tops so that each layer is flat. Dab a little purple icing onto a cake board to hold the cake in place. Add the first layer of cake, then top with some icing and smooth evenly. Repeat this until all 4 layers are stacked and filled neatly. Spread some more icing over the top, then roughly ice the outside of the cake with a crumb coat (this is a thin layer of icing that seals in the stray crumbs before the second layer of icing is applied). Refrigerate for 1 hour.
- Reserve a little black icing to pipe the web later. Spread a thin layer of the black icing around the middle of the cake, covering the middle third. Smooth the edges with a cake scraper. Push the Skittle eyes into the black icing, alternating green and orange pairs.
- Now pipe a very thick layer of purple icing above and below the spooky Skittle eye section, creating some jagged points to give the fault-line crack appearance. The purple icing layers must be so thick that they stick out beyond the Skittles eyes. Carefully smooth the icing with a cake scraper, then smooth the top of the cake. Freeze the cake for 1 hour.
- When the icing has set hard, dust the top and bottom edges of the “fault-line” with the edible purple shimmer dust. Hold a folded piece of baking paper against the cake as you brush to avoid the shimmer going everywhere.
- Place your remaining black icing into a piping bag with a writing nozzle and pipe a spiderweb design on the top of the cake. Push your spider bodies onto the web at various points, then gently push the chocolate spiders legs onto the cake so that they stick to the icing.


No Comments