20 Dec Stained Glass Cookies
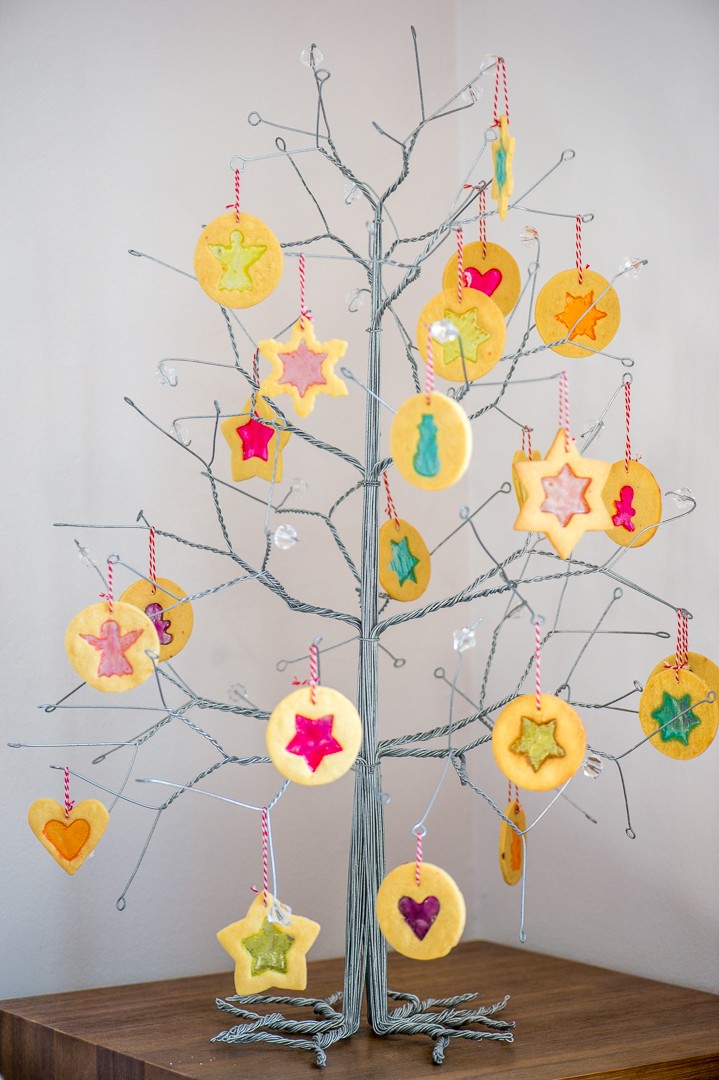
‘Tis the season to be jolly, so brighten up your tree with some pretty Stained Glass Cookies! These are simply delicious buttery biscuits with a crisp candy centre. Beautifully eye-catching and tasty too.
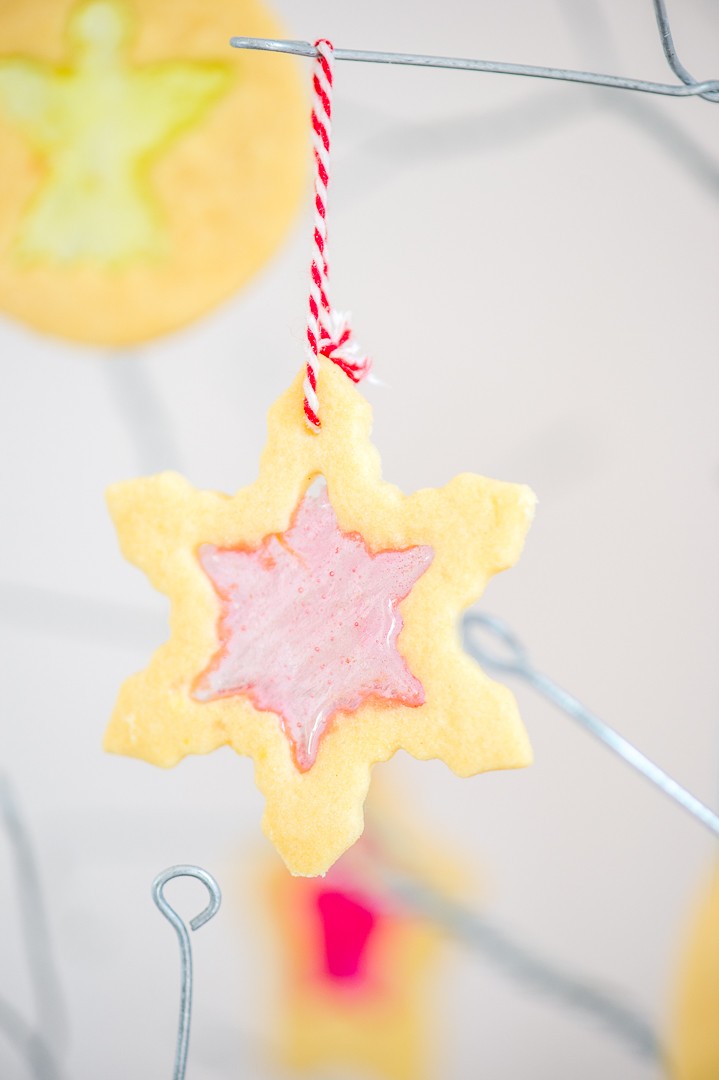
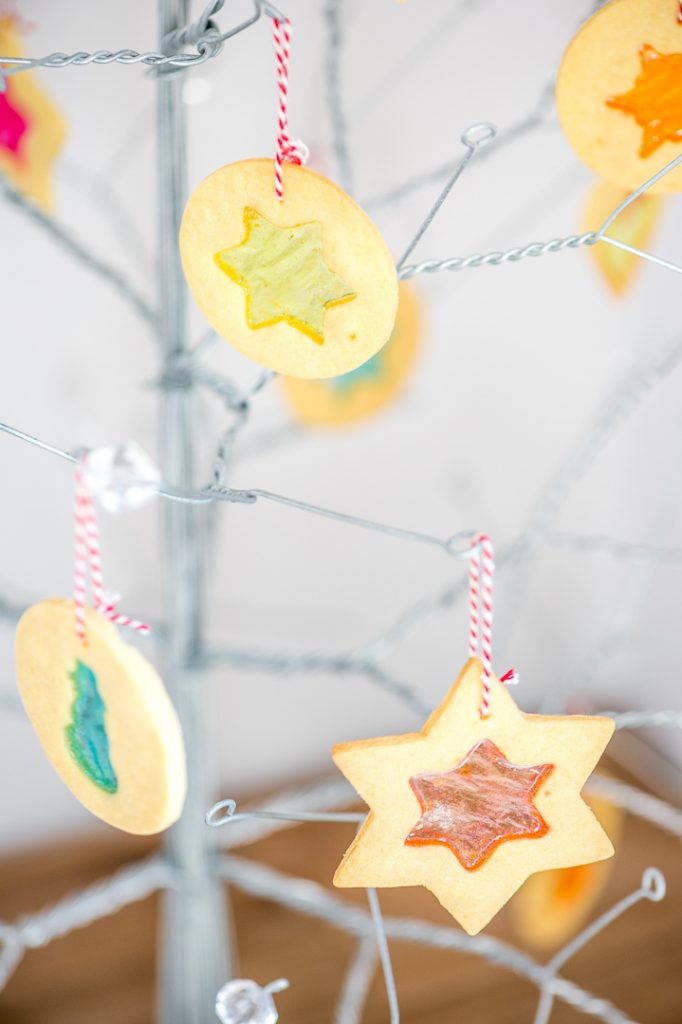
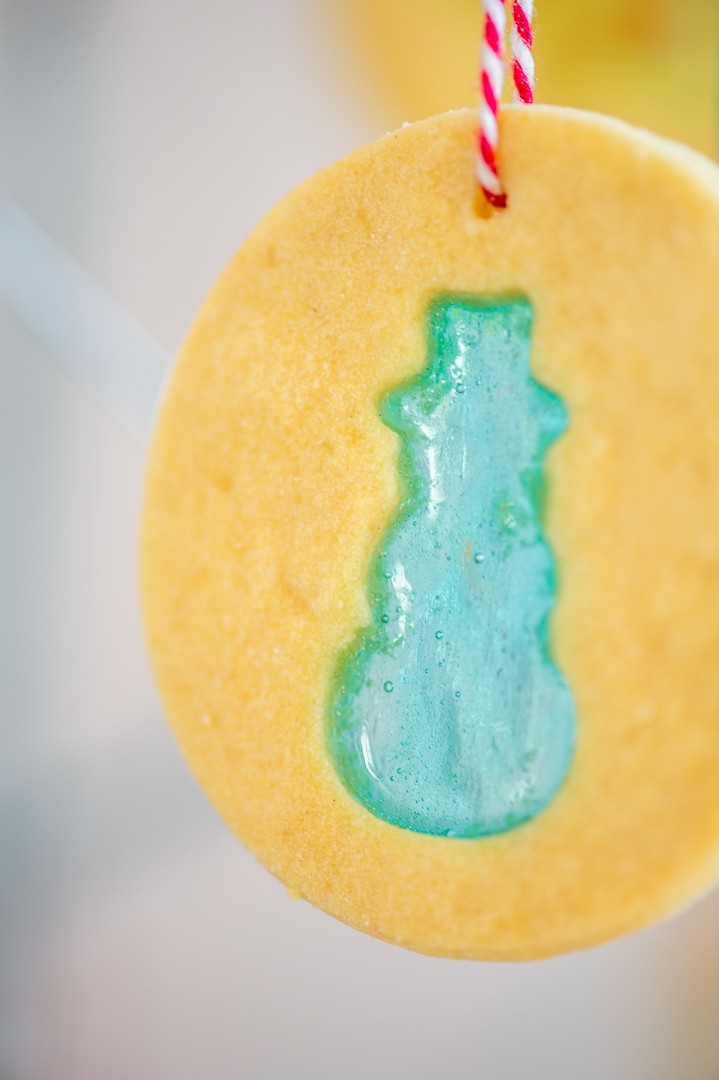
It is quite amazing to see how the crushed sweets melt into a beautifully clear “window” inside the cookie. The cut out shape can be anything you choose – these are certainly not reserved for Christmas time only! I found adorable mini gingerbread men, snowmen, angels and snowflake cutters at various baking stores. Hearts and stars work well too!

Ingredients:
250g butter, softened
125g castor sugar
5ml vanilla extract
1 egg yolk
pinch of salt
375g flour
1 packet of hard fruit sweets, mixed colours
Directions:
- Cream together the butter and castor sugar until light and creamy.
- Add the egg yolk, vanilla and salt, and mix well.
- Gradually add the flour and mix just until the dough comes together.
- Divide the dough into 2 flat discs and wrap in cling film. Refrigerate for 1 hour.
- In the meantime, separate the sweets by colour. Place each colour into a ziplock bag and crush finely with a rolling pin (or use a mortar and pestle).
- Preheat the oven to 180°C and line 2 baking trays with baking paper.
- Roll out one of the discs of dough between 2 pieces of floured baking paper to about 2mm thick. Cut out rounds, then cut out the centre of each using cookie cutters of your choice. Alternatively cut out large stars/hearts then small stars/hearts from each centre. (You can either bake the cut-out bits separately or re-roll them with the rest of the dough).
- Place the cookies onto the lined baking tray and refrigerate for 15 minutes. Use a teaspoon to fill each cookie centre with the crushed sweets. Brush any excess bits off the dough with a pastry brush.
- Use a toothpick to make a small hole at the top of each cookie. Bake for 10 – 12 minutes, or until all the candy has melted and the cookies are just turning golden. Watch them closely as the candy centre will bubble up and burn if left too long.
- Allow the cookies to cool for 5 minutes on the tray, then remove and cool completely on a wire cooking rack.
- Repeat this process until all the dough has been used.
- Once the cookies have cooled completely, thread some twine through the hole at the top and tie a small loop for hanging on your Christmas tree.
- The cookies can be stored in and airtight container for about 5 days. Humidity will cause the cookies to go soft and the sweets to go sticky!
No Comments