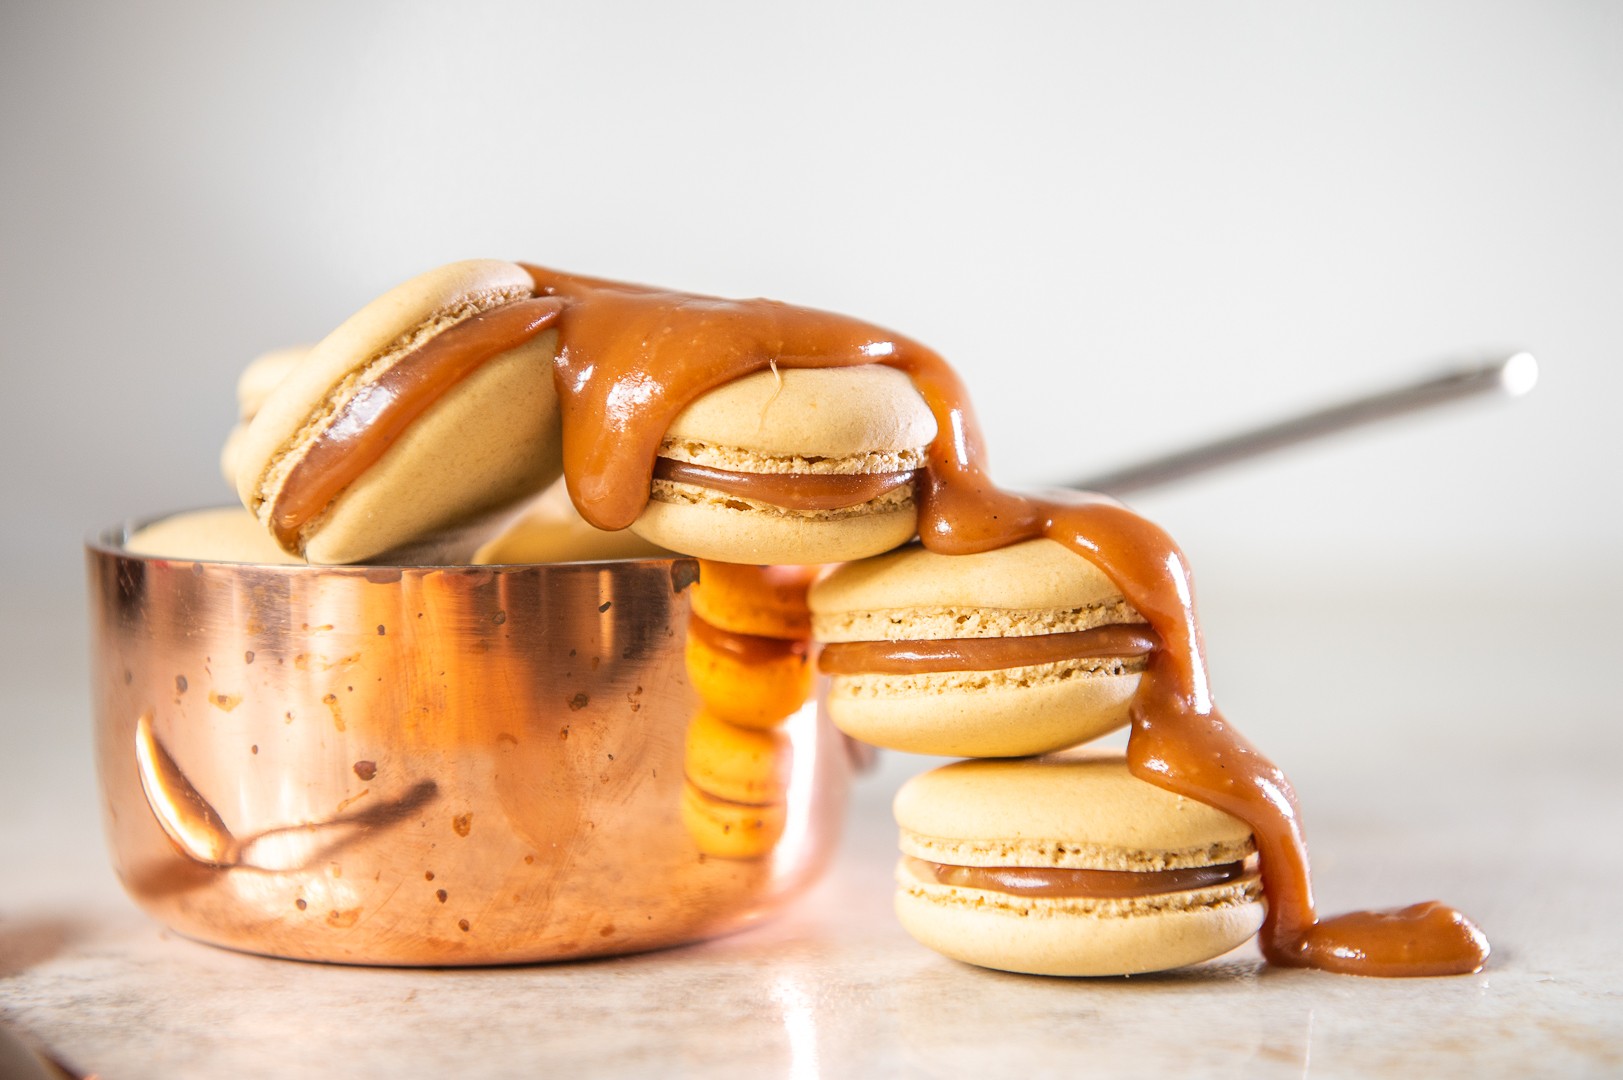
13 Sep Salted Caramel Macarons
My love of Salted Caramel is so strong that I could not resist another Salted Caramel recipe! Macarons seemed an obvious choice – being rather sweet already they benefit from the hint of salt and touch of bitterness from the salted caramel. Also, the lovely creamy and gooey texture of the caramel filling makes for a delicious contrast with the crisp, chewy macarons.
As with all my macaron recipes, I use the Italian meringue method which requires a sugar thermometer to cook the sugar syrup before adding to the egg whites. Personally, I find this method much more reliable than the french macaron method. It does mean investing on a sugar thermometer, which is totally, 100% worth every cent! Owning a sugar thermometer means you can make all sorts of confectionery and really up your baking game.
Please don’t be intimidated by the length of this recipe! I went into a lot of detail to ensure you have all the necessary knowledge to nail these macarons! You can make the caramel a few days in advance to save on time.

Ingredients:
Macarons:
75g water
150g sugar
55g egg whites (A)
150g icing sugar
150g almond flour
55g egg whites (B)
A few drops of caramel essence
A few drops each of brown and yellow gel colouring
Salted Caramel Filling:
300g white sugar
125ml water
125ml cream
70g unsalted butter
5ml vanilla extract
5ml salt
Directions:
- For best results separate your egg whites 1-2 days before starting. You will need 4 large egg whites. Keep the egg whites in an airtight container in the fridge for 24-48 hours. This is called “ageing” and reduces the moisture content of the egg whites. Weigh the egg whites after ageing!
- Line 2 baking trays with silicone or greaseproof paper. Draw evenly sized circles on the paper, 3-4cm in diameter (I traced around a tot glass). Turn the paper over so that ink/pencil does not transfer onto the macarons.
- Combine the sugar and water together in a small saucepan over low heat. Heat gently until the sugar has dissolved, then increase the heat.
- Meanwhile whip the egg whites (A) in the heatproof bowl of a stand mixer (or a hand-held mixer, but you’ll need help later) until foamy.
- Once the syrup has reached 116°C, remove from the heat and cool for a minute or until the bubbles subside.
- With the mixer running on medium speed, carefully pour the hot syrup in a thin stream down the sides of the bowl, away from the whisk. If you are using a hand-held mixer you will need an assistant to do the pouring here. Continue mixing until the bowl feels cool.
- Sift together the icing sugar and almond flour through a fine sieve. Make sure to push all the almonds through the sieve.
- Stir together well, then add the egg whites (B) and mix well with a metal spoon. Add the caramel essence and food colouring (bearing in mind the mixture will become a fair bit lighter after adding the meringue.)
- Now stir a third of the meringue mixture into the almond mixture to lighten it. Gently fold the remaining meringue in, using a figure of 8 motion. Stop folding when the mixture has become loose and shiny – if you lift the spoon the mixture should no longer break into pieces but fall like molten lava.
- Scoop the mixture into a piping bag and pipe onto the prepared trays. The best way to do this is to hold the piping bag directly above the circle (not at an angle) and squeeze just until, or slightly before the circle is filled.
- Once all the circles are filled, bang the tray hard onto a countertop 3 or 4 times to knock the air bubbles out.
- Preheat the oven to 140°C (without the fan). Leave the trays to stand for 30 minutes so that the macarons can dry out. If you touch them gently with your finger, they should have formed a skin.
- Bake the macarons for 12-14 minutes. Allow
to cool completely on the trays. If they don’t easily lift off the paper/silicon mat, they need to dry out more. In thiscase you can return them to the warm (but switched off oven) with the door left ajar. - Prepare the salted caramel filling. Place the sugar and water in a
heavy bottomed saucepan over low heat. Cook without stirring until sugar dissolves. - Use a wet pastry brush to wash down any sugar crystals from the sides of the pan. This prevents the sauce from crystallising
. Increas e the heat to medium-high and continue cooking until the syrup turns a caramel colour (this requires some patience, but keep watching it – after ages of no change in colour it all of a sudden turns!). If you have a sugar thermometer this is at around 174°C. Remov e the pan from the heat and quickly stir in the cream. It will bubble upvigourously so be careful! Coo k for another 1 or 2 minutes stirring constantly with a wooden spoon until smooth. Remove from heat and add butter, vanilla extract and salt. Stir well until smooth.- Allow the caramel to cool to room temperature, then scoop into a piping bag fitted with a small plain round nozzle (or simply snip off the tip).
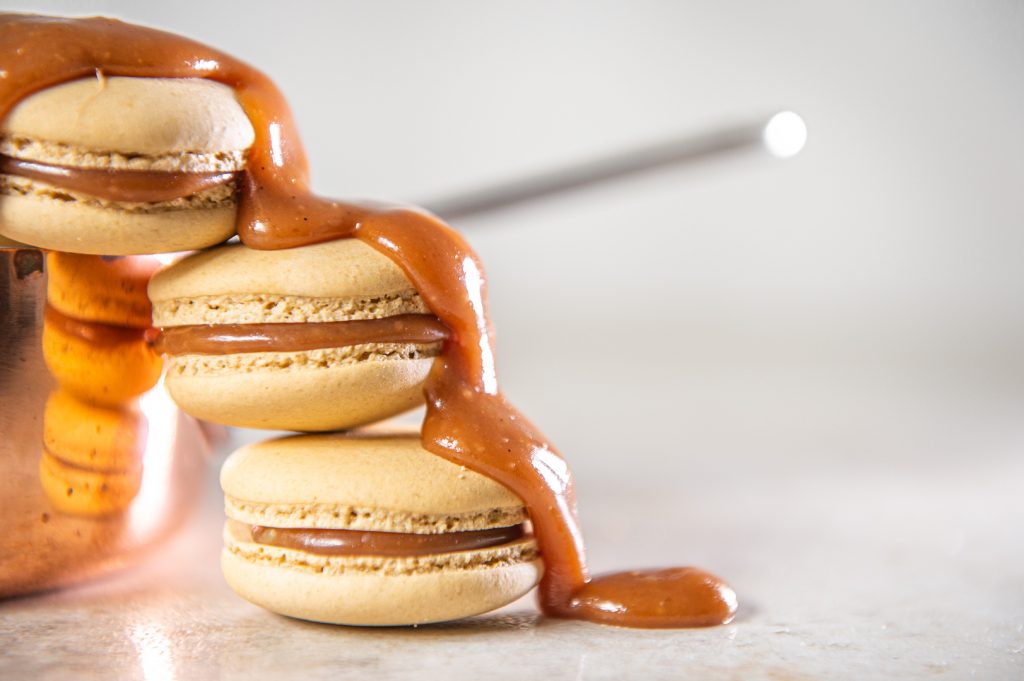
- To assemble, match like-sized macarons together, then pipe a generous amount of salted caramel onto one macaron, and sandwich gently with the other macaron
. Plac e the assembled macarons into an airtight container and keep refrigerated until ready to serve, or up to 3 days. The macarons actually taste better after “maturing” in the fridge overnight.- Leave the macarons at room temperature for 30 minutes before serving, so they aren’t cold and the caramel is not too hard.
No Comments